Hey there, bread lovers! Ever dreamt of baking that perfect loaf of sourdough, with its tangy flavor and chewy crust? The secret, my friends, is all in the starter. And if you’re looking for a starter that’s both robust and packed with character, a rye sourdough starter is your new best friend. Don’t worry, it’s not as complicated as it sounds. I’m going to walk you through making your own, step-by-step.
Table of Contents
Rye Sourdough Starter: Understanding the Basics
What is a Sourdough Starter?
Okay, let’s start with the basics. A sourdough starter is basically a living colony of wild yeasts and good bacteria. Think of it as your own personal, bubbly pet that helps your bread rise. Instead of using commercial yeast (the kind you buy in packets), you’re harnessing the natural yeasts that are all around us – in the air, in the flour, everywhere!
Now, why rye? Well, rye flour is like a superfood for these wild yeasts. It’s packed with nutrients and enzymes that they absolutely love. This means your starter will be more active, more resilient, and develop a wonderfully complex flavor. While you can make a starter with other flours, rye is often considered the gold standard, especially for beginners. It’s like giving your starter a head start!
Rye Flour vs. Other Flours for Starters: Key Differences
Here’s the deal: different flours behave differently. Rye flour has a higher concentration of amylase enzymes. These enzymes break down starches into sugars, which the yeast then feeds on. This is why rye starters tend to be more vigorous.
- Rye Flour: High enzyme activity, robust flavor, darker color, faster fermentation.
- All-Purpose Flour: Lower enzyme activity, milder flavor, lighter color, slower fermentation.
- Whole Wheat Flour: Moderate enzyme activity, nutty flavor, medium color, moderate fermentation.
- Bread Flour: creates a strong gluten network.
Think of it like this: all-purpose flour is like giving your starter a regular meal, while rye flour is like giving it a feast!
Benefits of Using a Rye Sourdough Starter
So, why go through the “trouble” of making a rye sourdough starter? Here’s the lowdown:
- Unbeatable Flavor: Rye adds a depth of flavor that’s hard to describe – earthy, slightly tangy, and incredibly complex. It elevates your sourdough bread to a whole new level.
- Supercharged Activity: As we mentioned, rye flour is yeast’s favorite food. This means your starter will be bubbling and ready to go much faster than starters made with other flours.
- Resilience: Rye starters are known for being tough cookies. They’re less prone to problems and can bounce back from neglect more easily.
- Lower Gluten(Relatively): Although not gluten-free, rye contains less of the gluten-forming proteins, and some find this easier to process.
Essential Equipment for Making a Rye Sourdough Starter
You don’t need fancy gadgets to make a great starter. Here’s what you’ll need:
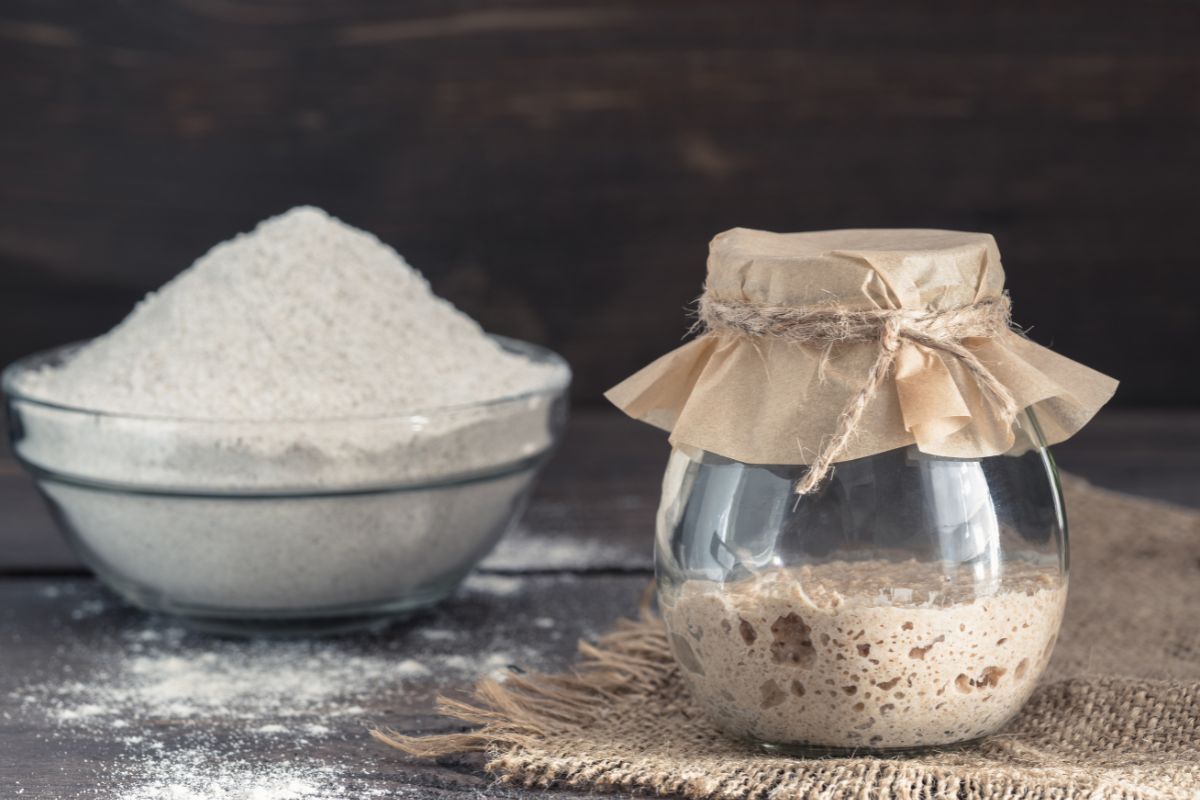
- A Glass Jar: A wide-mouth jar (like a mason jar) is perfect. Glass is ideal because it’s non-reactive.
- Rye Flour: Organic, unbleached rye flour is best. You can use light, medium, or dark rye – more on that later!
- Non-Chlorinated Water: Chlorine can kill the yeast, so use filtered, bottled, or tap water that’s been left out overnight.
- A Kitchen Scale: Precision is key in baking, so a scale is highly recommended. You can get away with measuring cups, but a scale is much more accurate.
- Something to Stir With: A small spatula or spoon works great.
Creating Your Rye Sourdough Starter: The 5 Easy Steps
Ready to get started? Let’s do it! This is the fun part.
Step 1: Initial Mixing (Rye Flour and Water Ratios)
- Day 1: In your clean jar, combine 50 grams of rye flour with 50 grams of non-chlorinated water.
- Stir well until you have a thick, paste-like consistency. It should look like thick pancake batter.
- Loosely cover the jar (you can use a lid, cheesecloth, or a coffee filter secured with a rubber band). You want air to circulate, but you don’t want anything to fall in.
- Place the jar in a warm spot, ideally around 75-80°F (24-27°C).
Step 2: The First Few Days (Signs of Fermentation)
- Days 2-3: You might not see much happening, and that’s okay! Just let it sit. The wild yeasts and bacteria are starting to wake up. You might see a few bubbles, or you might not. Don’t get discouraged!
- You may notice a slightly sour smell developing. This is a good sign!
Step 3: Feeding Your Rye Starter (Consistency and Schedule)
- Day 3 (or 4, depending on activity): This is where the feeding begins!
- Discard: Remove about half of the starter from the jar. (Don’t throw it away! We’ll talk about what to do with the discard later.)
- Feed: Add 50 grams of rye flour and 50 grams of non-chlorinated water to the remaining starter.
- Stir well until everything is combined.
- Loosely cover and place back in its warm spot.
Step 4: Observing and Adjusting (Temperature, Humidity)
- Days 4-7 (and beyond): Continue feeding your starter once or twice a day, following the same process: discard half, feed with equal parts flour and water.
- Observe: Pay attention to how your starter is behaving. Is it doubling in size within a few hours after feeding? Are there lots of bubbles? Does it have a pleasant, sour smell?
- Adjust: If your starter is very active, you can feed it twice a day. If it’s sluggish, try moving it to a warmer spot. The ideal temperature is key! Humidity can also play a role, but it’s less critical than temperature.
Step 5: Testing for Readiness (The Float Test Explained)
- The Float Test: This is the classic way to tell if your starter is ready to bake with.
- Take a small spoonful of your starter and drop it into a glass of water.
- If it floats, it’s ready! This means it’s producing enough gas to make your bread rise.
- If it sinks, it needs more time and more feedings.
Maintaining Your Rye Sourdough Starter
Congratulations! You’ve created a rye sourdough starter. Now, how do you keep it alive and happy?
Feeding Schedules: Daily, Weekly, and Less Frequent Baking
- Daily Baking: If you bake bread every day, keep your starter at room temperature and feed it once or twice a day.
- Weekly Baking: If you bake once a week, keep your starter in the refrigerator. Take it out a day or two before you want to bake, feed it, and let it come back to room temperature and become active.
- Less Frequent Baking: If you bake less often, you can keep your starter in the refrigerator for longer periods. You might need to feed it a few times to revive it before baking.
Understanding “Discard” and How to Use It
That portion of the starter you remove before each feeding? That’s called “discard.” Don’t throw it away! It’s still full of flavor and can be used in all sorts of recipes:
- Pancakes and Waffles: Discard adds a wonderful tang to pancakes and waffles.
- Crackers: Sourdough discard crackers are incredibly delicious and easy to make.
- Muffins and Cakes: Add it to your favorite muffin or cake recipes for a subtle sourdough flavor.
- Pizza Dough: Even pizza dough can benefit from a little sourdough discard!
Seriously, get creative! There are tons of recipes online for using sourdough discard.
Storing Your Rye Sourdough Starter (Room Temperature vs. Refrigerator)
- Room Temperature: For frequent bakers. Feed daily or twice daily.
- Refrigerator: For less frequent bakers. Feed weekly, or even less often (but be prepared to revive it before baking). The cold slows down the fermentation process.
Reviving a Neglected Rye Sourdough Starter
Oops! Life happens, and sometimes we forget about our starter. Don’t panic! Even if it’s been neglected in the fridge for a while, it’s probably still alive.
- Take it out of the fridge.
- Discard most of it, leaving just a small amount (about a tablespoon).
- Feed it with equal parts rye flour and water.
- Let it sit at room temperature.
- Repeat the feeding process every 12-24 hours until it’s back to its bubbly, active self.

Troubleshooting Common Rye Sourdough Starter Problems
Even with the best intentions, things can sometimes go wrong. Here are some common issues and how to fix them:
My Rye Sourdough Starter Isn’t Rising (Weak Starter Solutions)
- Temperature: Make sure it’s warm enough (75-80°F / 24-27°C).
- Feeding: Feed it more frequently (twice a day).
- Flour: Use high-quality, organic rye flour.
- Water: Use non-chlorinated water.
- Patience: Sometimes it just takes time!
My Rye Sourdough Starter Smells Like Acetone (or Other Off Smells)
- Acetone Smell: This usually means your starter is hungry! Feed it more often.
- Other Off Smells: If it smells truly foul (like rotten food), it’s best to discard it and start over.
Mold Growth on My Rye Sourdough Starter: What to Do
- Small Amounts of Mold: If you see a tiny bit of mold on the surface, you can try to salvage it. Carefully scoop out the moldy part, along with a generous portion of the surrounding starter. Transfer a small amount of the unaffected starter to a clean jar and feed it.
- Extensive Mold: If there’s a lot of mold, or if it’s black, pink, or orange, it’s best to discard the starter and start over. Safety first!
Hooched on Starter: What Does the Liquid Mean?
- Hooch: This is a layer of liquid that can form on top of your starter. It’s a byproduct of fermentation and is usually harmless.
- What to Do: You can either pour it off or stir it back in. If it has a strong, unpleasant smell, it’s best to pour it off.
Dealing with Pests
- Prevention: Keep your starter covered with a breathable lid (cheesecloth, coffee filter, etc.).
- Infestation: If you get fruit flies, you can try to trap them with a small bowl of vinegar and dish soap near your starter. If the infestation is severe, you might need to start over.
Advanced Rye Sourdough Starter Techniques
Once you’ve mastered the basics, you can explore more advanced techniques:
Converting a White Flour Starter to Rye
- Take a small amount of your white flour starter (about a tablespoon).
- Feed it with rye flour and water.
- Continue feeding it with rye flour and water until it’s fully converted (this might take a few feedings).
Building a Rye Levain for Baking
A levain is simply a portion of your starter that you build up specifically for baking.
- Take a small amount of your starter.
- Feed it with a larger amount of flour and water (the specific amounts will depend on your recipe).
- Let it ferment until it’s bubbly and active (this usually takes a few hours).
Using Different Types of Rye Flour
- Light Rye: Has the bran and germ removed, resulting in a milder flavor and lighter color.
- Medium Rye: Contains some of the bran and germ.
- Dark Rye: Contains most of the bran and germ, resulting in a stronger flavor and darker color.
- Whole Rye: Contains the entire rye kernel.
Experiment with different types to see what you like best!
Adjusting Hydration for Different Recipes
Hydration refers to the ratio of water to flour in your starter. A 100% hydration starter has equal parts flour and water. You can adjust the hydration to suit different recipes.
Long-Term Storage and Preservation of Rye Sourdough Starter
- Drying: Spread a thin layer of starter on parchment paper and let it dry completely. Crumble it up and store it in an airtight container.
- Freezing: You can freeze a portion of your starter for long-term storage. Thaw it and feed it a few times to revive it before baking.
Frequently Asked Questions
Can I Use Rye Starter in Recipes Calling for White Flour Starter?
Yes, absolutely! You might need to adjust the hydration slightly, but rye starter can be used in most sourdough recipes.
How Long Does Rye Sourdough Starter Last?
Indefinitely, as long as you keep feeding it! There are stories of sourdough starters that have been passed down for generations.
What is the best container to use?
A wide-mouth glass jar is ideal.
How Often Should I Use My Starter?
That depends on how often you bake! If you bake frequently, keep it at room temperature and feed it regularly. If you bake less often, store it in the refrigerator, and feed it less often.
Can I make my own flour?
Yes, you can grind your own rye flour using a grain mill.
So there you have it! Everything you need to know to create and maintain your own amazing rye sourdough starter. It’s a rewarding journey, and the taste of your homemade sourdough bread will be worth the effort. Now go forth and bake!