Are you on the hunt for an authentic, bakery-quality sourdough rye bread recipe to master at home? There’s nothing quite like the aroma of a freshly baked sourdough rye loaf wafting through the kitchen. That slightly sour, fermented scent mingled with the earthy rye is enough to get any bread lover’s mouth watering. If you’re looking to master the art of baking sourdough rye bread, you’ve come to the right place!
Today, I’m walking you through an authentic sourdough rye bread recipe to bake incredible artisan loaves at home. We’re talking crusty on the outside, chewy and flavor-packed on the inside – the kind of rustic, bakery-style rye bread that’ll have your friends and family begging for the secret. Trust me, once you sink your teeth into a warm slice slathered with butter, you’ll never go back to bland store-bought rye again!
The Art of Sourdough Rye Bread Recipe
So what makes sourdough rye bread so darn special? Well, it all starts with the fermentation process. Unlike regular bread made with commercial yeast, sourdough is made using a centuries-old technique of cultivating wild yeast and bacteria to leaven the dough naturally.
When combined with the bold, earthy flavor of rye flour, this fermentation creates an unmistakably tangy depth that’ll make your tastebuds swoon. It’s this unique sourness balanced with a hearty whole-grain taste that gives the artisan sourdough rye bread recipe its signature flair.
But it’s not just about flavor – sourdough is also celebrated for its health benefits. The fermentation process helps break down some of the anti-nutrients in grains, making the bread more digestible. Plus, that sour taste comes with a healthy dose of probiotic goodness!
Mastering the Sourdough Rye Bread Recipe
Diving into this realm of bread baking may seem intimidating at first. But have no fear – this detailed sourdough rye bread recipe is going to hold your hand through every step, from cultivating your starter to pulling those gorgeous loaves out of the oven. By the end, you’ll have all the knowledge and techniques to bake homemade crusty sourdough rye bread recipes like a pro.
We’re talking authentic, artisan-quality loaves with that delectable crunch and chewy, fermented interior. The kind of bread that’ll make you wonder why you ever settled for anything less! If you want to take a master class in traditional sourdough baking, this in-depth guide is a must-read.
Ingredients and Sourdough Starter
Before we get baking, let’s go over the key players you’ll need for this sourdough rye bread recipe.
Rye Flour and Other Key Ingredients
The star of the show is, of course, rye flour. This densely flavored whole grain flour comes in different varieties like light, medium, and dark rye. Each has its own unique color and intensity:
- Light Rye: The mildest in flavor with a light brown shade. It’ll give your bread a subtle rye taste.
- Medium Rye: As the name suggests, medium rye dials up the flavor a few notches with a deeper brown color. This is a great middle-ground variety.
- Dark Rye: The most robustly flavored of the bunch with an almost blackish-brown hue. Dark rye packs a seriously earthy, nutty punch!
No matter which type of rye you use, it’s important to balance it out with some bread flour too. The higher protein content in bread flour helps provide structure and allows the sourdough rye loaves to achieve that coveted oven spring.
Rounding out the ingredient list is water to hydrate the dough, and salt to bring everything together with flavor while tightening up the gluten structure. Simple stuff, but the way these basic items interact is pure bread magic.
Cultivating a Vigorous Rye Sourdough Starter
Now for perhaps the most crucial element – your rye sourdough starter! This living, bubbling mixture of flour and water captures wild yeast and lactic acid bacteria to kickstart the fermentation process. Without an active starter, you won’t get that authentic sourdough flavor and rise.
The best approach is to cultivate your own starter from scratch using rye flour. This creates the optimal environment for the specific strains of yeast and bacteria that thrive in rye. Patience is key – it can take up to a week of regular feedings for the starter to get vigorous and ready for baking.
Look for signs of an active, healthy starter like doubling in size and lots of bubbly activity after feedings. If your starter seems sluggish or neglected, don’t sweat it – check out these tips for reviving it. Once that baby is lively and fragrantly sour, you’re cleared for liftoff!
The Baking Process Of Sourdough Rye Bread Recipe
Enough talk, let’s get to the good stuff – baking those gorgeous sourdough rye loaves! This process is surprisingly simple but does require some time and attention. Break it down into these key stages:
Mixing and Bulk Fermentation
First up is combining the rye flour, bread flour, salt, water, and bubbly rye sourdough starter. You can mix this shaggy dough by hand or in a stand mixer until it starts forming a smooth, elastic ball.
That’s when the real magic – bulk fermentation – begins. During this crucial 8-12 hour period, enzymes get to work breaking down the starches and developing that signature sourdough tang. You’ll need to “fold” the dough a few times during bulk to reinforce its strength.
Signs that bulk fermentation is complete? The dough should be noticeably puffed up, riddled with bubbles, and have developed some sourness. That’s when you know the rye and starter have joined forces in a delicious fermented union!

Shaping, Proofing, and Scoring the Loaves
Now it’s time to divide that bubbly, fermented dough into individual loaf portions. Gently shape them into your desired batard or boule forms, being careful not to knock out too much air. These shaped sourdough rye loaves then go through one final rise, or “proof” of 2-4 hours before baking.
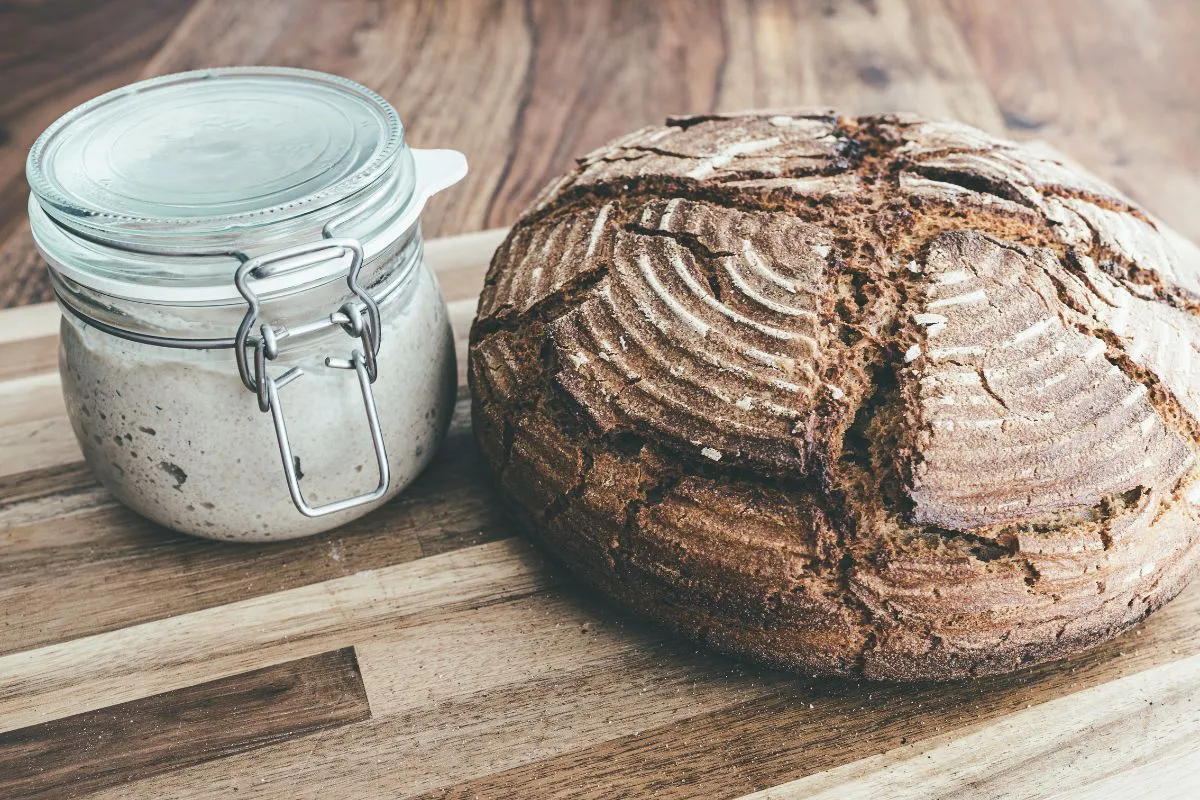
When they’ve puffed up nicely, it’s time for one more crucial step – scoring! Using a lame (that’s bread speak for a razor blade), you’ll want to swiftly score a pattern into the top of each loaf. This allows the rye sourdough bread to expand fully during its oven spring.
Not sure how to execute the perfect scored design? This mouthwatering loaf is a serious inspiration. Those ear-like flaps are the hallmark of a well-scored sourdough!
Baking for a Crusty, Fermented Crumb
Enough teasing, let’s get these babies baked! Crank your oven up to a sizzling 450°F and have your steaming apparatus at the ready. Baking with steam during the first 20 minutes is key for developing that crazy, crispy, artisan crust on the outside.
After that initial steam bath, drop the temperature down to 400°F and continue baking for another 30-40 minutes. You’ll know the sourdough rye bread recipe loaves are picture-perfect when the crust is deeply bronzed with an ultra-crunchy exterior.
An instant-read thermometer is a baker’s best friend here – the internal temperature should register between 205-210°F to ensure that the chewy, tangy, fermented crumb on the inside. If you hit that magic number, congrats! You just joined the ranks of sourdough bread masters.
FAQs on Baking Sourdough Rye Bread Recipe
Even with those detailed steps, I know sourdough baking can bring up plenty of head scratches. Here are some common queries when it comes to this crusty sourdough rye bread:
How long does it take to make sourdough rye bread from start to finish?
The overall process from starter to slicing into that first sourdough rye loaf typically takes 3-5 days total. However, don’t let that deter you – a huge chunk of that time is completely hands-off while the dough ferments and rises. Additionally, the actual active working time for this sourdough rye bread recipe is just a few hours spread out over those days. Firstly, you’ll need to cultivate the rye sourdough starter, which can take up to a week. Then, after mixing the dough, there are periods of bulk fermentation and proofing. Consequently, while the overall timeline is several days, the hands-on effort is relatively minimal.
Can I use a different type of sourdough starter?
For best results and the most authentic rye sourdough bread flavor, you’ll want to use a starter cultivated with rye flour specifically. A wheat-based starter can work in a pinch, but it won’t give you that same depth of earthy rye tanginess.
Why is my sourdough rye bread dense and not rising well?
Oof, few things are as disappointing as a dense sourdough rye loaf. There are a few potential culprits here – the starter may not have been vigorous enough, the dough could have been over- or under-proofed, or there may have been shaping/scoring issues. Pay close attention to those proofing times!
How can I make my rye bread crust crunchier?
That ultra-crunchy crust is a hallmark of great artisan sourdough, so we want to maximize it! The biggest factors are baking at a very high temperature (450°F or hotter) with steam for the first 20 minutes, and letting the finished sourdough rye loaves cool completely before cutting into them. An extended room-temperature cooldown helps set that insanely crispy crust.
How should I store homemade sourdough rye bread recipes?
Proper storage is key for keeping your sourdough rye bread fresh! At room temperature, keep loaves in a bread box or paper bag for 2-3 days. Avoid plastic, which can lead to sogginess. For longer-term storage, you’ll want to freeze any remaining sourdough rye bread portions to maintain peak texture and flavor.
Conclusion
There you have it, bakers – everything you need to turn basic pantry ingredients into the artisan sourdough rye bread of your dreams! I know it seems like a process, but I promise the payoff is worth its weight in those crusty, tangy, fermented loaves.
By cultivating your own vigorous rye sourdough starter and following this detailed sourdough rye bread recipe, you’re tapping into a centuries-old technique and unlocking a world of incredible flavor. The depth that rye brings to sourdough makes each homemade slice absolutely crave-worthy.
So don’t be intimidated – baking authentic sourdough rye bread from scratch is totally within reach for any intrepid home baker. Take it step-by-step, lean on those helpful tips, and most importantly, don’t be afraid to get a little experimental! Part of the fun is finding your own unique twist.
I can’t wait for you to experience that first irresistible whiff of your freshly baked sourdough rye loaves emerging from the oven. Soak in that aroma, that first crackly crust giving way to the most incredible chewy, fermented crumb. This, my friends, is what bread bliss tastes like!