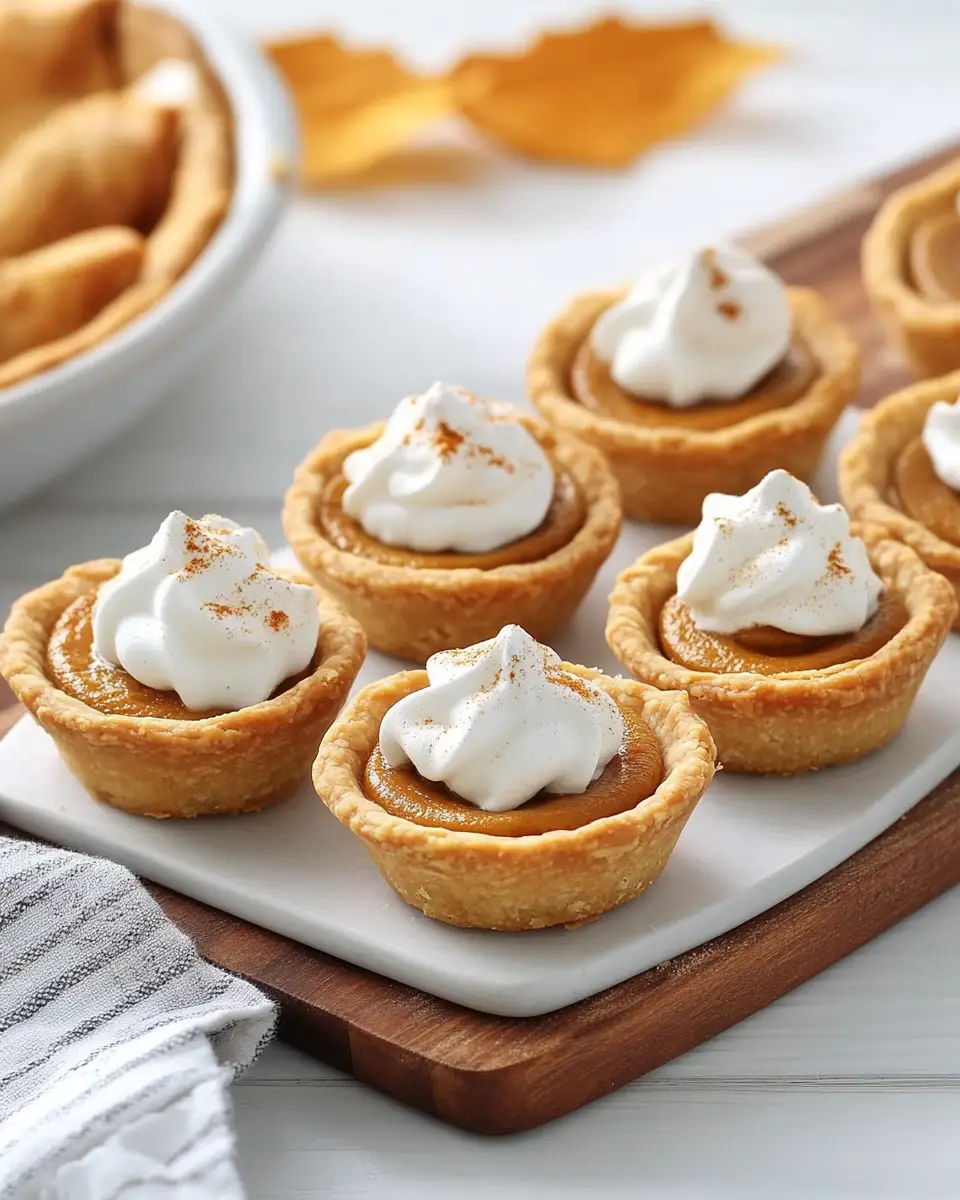
The aroma of cinnamon and nutmeg is a shortcut to my favorite time of year. These little pies fill the kitchen with that classic holiday scent. Plus, they’re so cute! They’re like a little hug just for you, no slicing needed.
Why You’ll Love These Mini Pumpkin Pies
- Perfectly portioned. No need to cut a giant pie. Everyone gets their own little dessert.
- Faster to bake. Because they are small, they cook in less time than a full-sized pie.
- Simple and satisfying. This recipe uses a handful of ingredients to create a perfect classic flavor.
- An ideal dessert for gatherings. They’re easy to transport and serve at a party.
What It Tastes Like
These mini pies taste just like your grandma’s pumpkin pie, but in a bite-sized package. They have a rich, spiced pumpkin filling that’s creamy and smooth. The flaky crust is buttery and holds its shape beautifully. The flavors are warm, sweet, and comforting, especially when topped with a cloud of whipped cream.
Ingredients You’ll Need
- Refrigerated Pie Crusts: This is our secret to making this recipe so fast and easy. You’ll find them in the dairy or refrigerated dough section of your grocery store. Just make sure the package has two crusts in it.
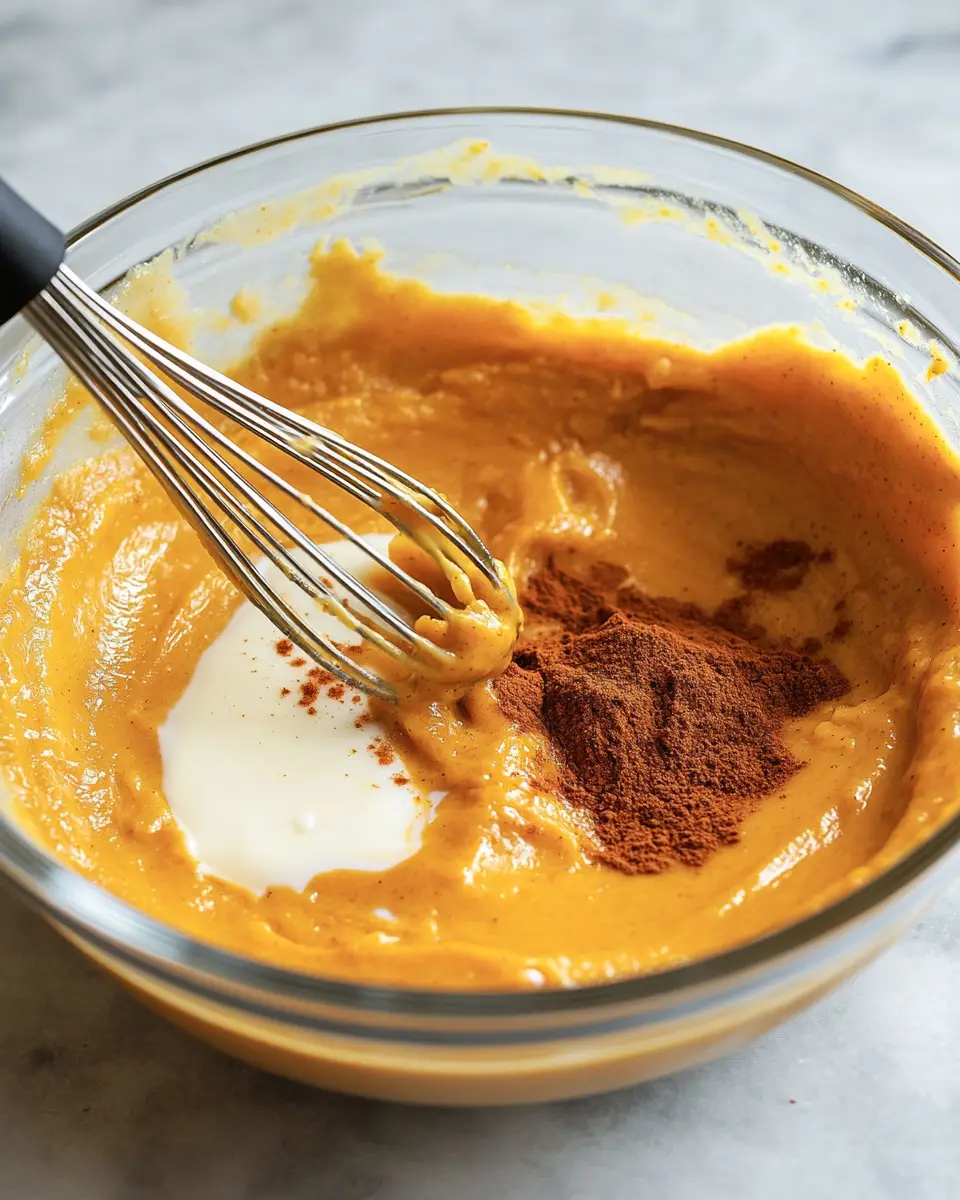
- Canned Pumpkin: Just like with any pumpkin recipe, it’s important to grab the right can. You need 100% pure canned pumpkin, not pumpkin pie mix. The pie mix has extra sugar and spices that we don’t want here.
- Granulated Sugar: This is our main sweetener. It dissolves easily into the filling to make it perfectly sweet.
- Evaporated Milk: This canned milk is a key player in the filling. It’s thicker and creamier than regular milk, which helps give the pumpkin custard that smooth, rich texture. Don’t swap it for regular milk, or the filling won’t set up right.
- Large Egg: The egg acts as a binder. It’s what holds the pumpkin filling together, giving it that classic custardy consistency.
- Pumpkin Pie Spice: This pre-mixed blend of spices is a lifesaver. It usually includes cinnamon, nutmeg, ginger, and allspice. If you don’t have any, you can make your own with 1/2 teaspoon cinnamon, 1/4 teaspoon ground ginger, and a pinch of ground nutmeg and cloves.
- Vanilla Extract: A little splash of vanilla brings out all the other flavors and adds a nice warmth to the filling.
- Whipped Cream: This is an optional topping, but in my opinion, it’s non-negotiable. A dollop of whipped cream on each pie makes them even more special.
Step-by-Step Instructions
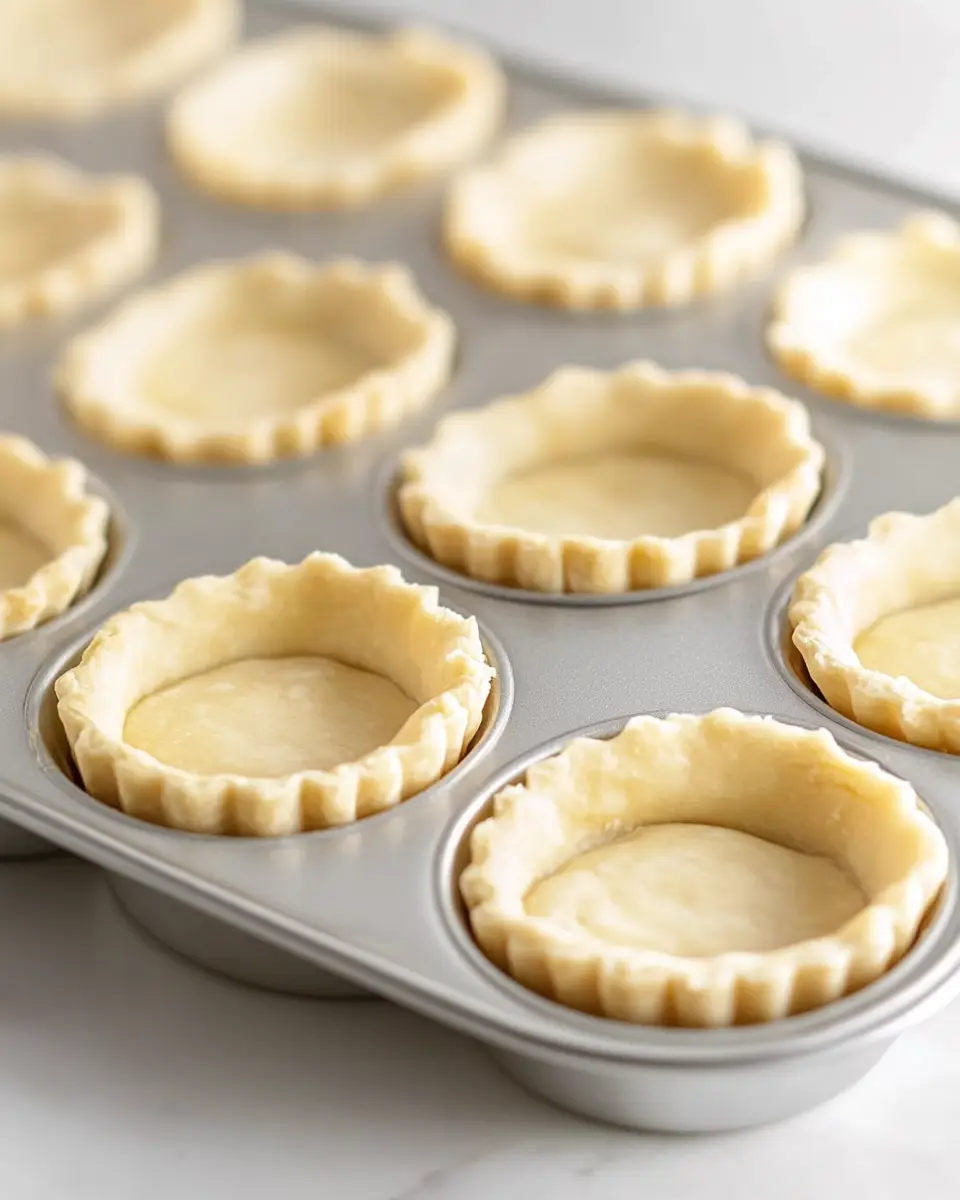
Preheat and prepare the crusts. Preheat your oven to 350°F. Unroll the pie crusts onto a floured surface. Use a 3 to 4-inch round cookie cutter, or even the rim of a wide glass, to cut out circles. This is why it’s easy: you’ll get about 12 circles total from the two crusts. Gently press each circle into the wells of a standard-sized muffin tin.
Mix the filling. In a large bowl, whisk together the canned pumpkin, granulated sugar, evaporated milk, egg, pumpkin pie spice, and vanilla extract. Whisk until the mixture is smooth and completely combined. There should be no lumps.
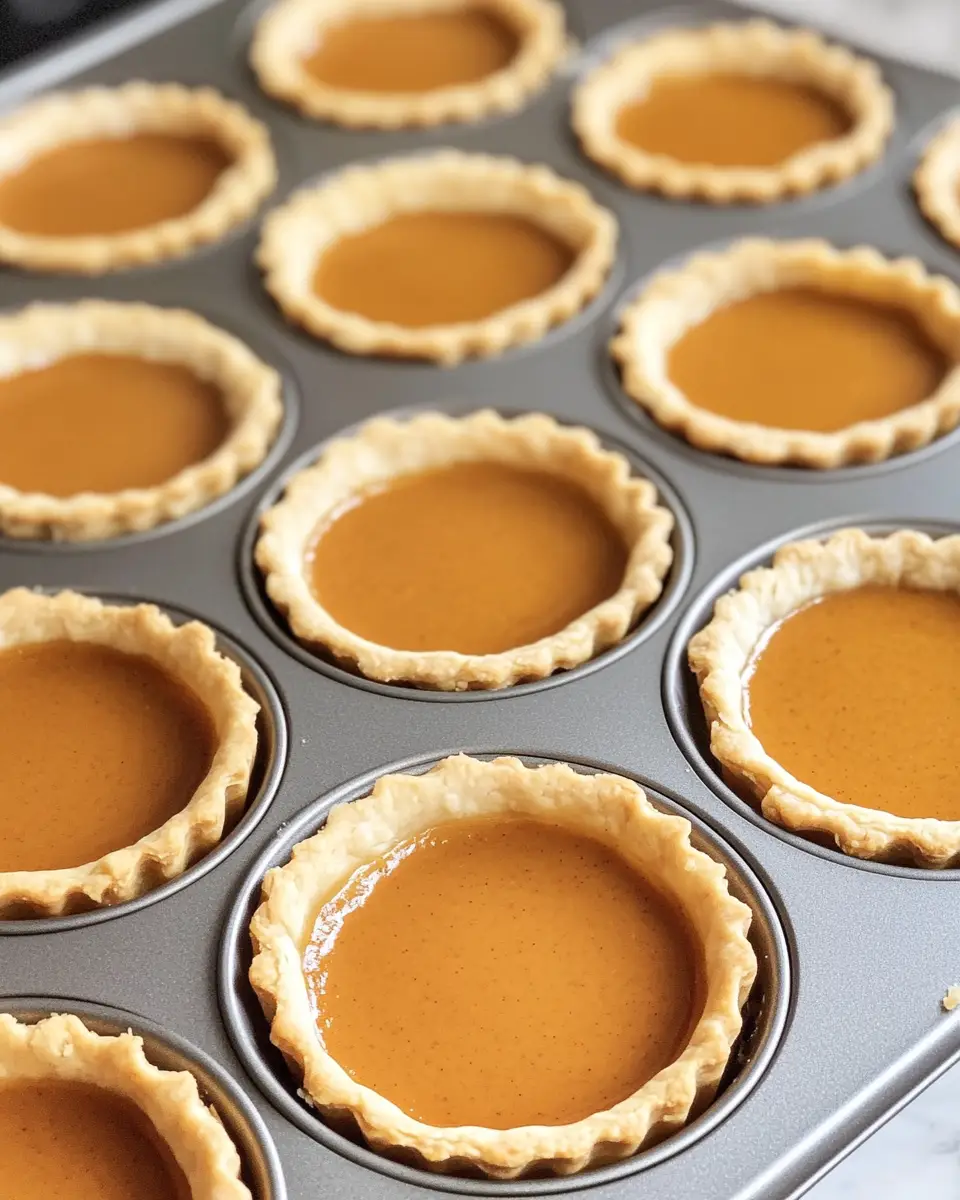
Fill and bake. Carefully spoon the pumpkin mixture into each prepared pie crust. Fill each one about three-quarters of the way full. You may have a little filling leftover. Place the muffin tin on a baking sheet to catch any drips. Bake for 20 to 25 minutes. You’ll know they’re done when the crusts are golden brown and the filling is set.
Cool completely. Let the pies cool in the muffin pan for about 10 minutes. Then, gently remove them and transfer them to a wire rack to cool completely. This step is important for the filling. If you’re impatient, they are still tasty and warm, but they’ll be very soft.
Serve and enjoy. Once the pies are completely cool, top each with a generous swirl of whipped cream just before serving. A little sprinkle of extra cinnamon on top is a great touch.
Variations, Additions, And Substitutions
You can make this with a graham cracker crust for a no-bake twist. For extra flair, use mini cookie cutters to create small leaf shapes from the leftover crust to decorate the tops of the pies. A sprinkle of cinnamon sugar on the crusts before baking also adds a nice crunch.
Tips for Success
- Do not fill the pies too much. Pies should be left with a little space at the top so that the filling doesn’t spill out when the oven is heated.
- Check if the pies are fully cooked. The stuffing in the middle of the pies should be hard. If they still appear a bit jiggly, extend the baking time by a few minutes.
- Start with frozen pie crusts. The dough is more manageable if it is cold.
- If you want to take the pies out of the tin without them collapsing, you should first cool them down. The custard filling becomes firmer during this time.
What to Serve With These Pies
These mini pies are a dessert on their own, but they are great with a few extras. A hot cup of mulled cider or a spiced tea is a perfect pairing. For a holiday meal, serve them on a large platter with other small desserts as chocolate cookies or candied nuts. The pies would also be great with a scoop of vanilla ice cream.
Storage And Reheating
Store any leftover mini pies in an airtight container in the refrigerator for up to 3 days. The pies are best served chilled. You can also freeze them for up to a month. To serve from frozen, thaw them in the fridge overnight.
Frequently Asked Questions
Can I make these mini pumpkin pies ahead of time?
Yes, these pies are a great make-ahead option. You can bake them up to a day in advance and store them in the refrigerator.
How do I get the mini pies out of the muffin tin?
Let them cool for about 10 minutes in the pan first. Then, gently run a butter knife around the edge of each pie to loosen it before lifting it out.
Can I use fresh pumpkin puree?
Yes, but be sure to drain any excess moisture from the fresh pumpkin puree first. Canned pumpkin is much more consistent and is a simple shortcut.

