Ever dreamt of a bread that combines the tangy goodness of sourdough with the rich, decadent flavor of chocolate? Well, you’re in the right place! This guide is all about Chocolate Sourdough Bread, a treat that’s as fun to make as it is to eat. We’ll explore everything from the basics to advanced techniques, ensuring you can bake a perfect loaf every time.
Understanding Chocolate Sourdough Bread
What Makes Chocolate Sourdough Bread Unique?
Chocolate Sourdough Bread isn’t your average loaf. Unlike regular bread that uses commercial yeast, sourdough relies on a natural “starter” – a lively mix of wild yeast and good bacteria. This gives it that signature tangy flavor and a slightly chewy texture. Adding chocolate to the mix takes it to a whole new level of deliciousness.
The Allure of Chocolate and Sourdough: A Flavor Profile
The magic of Chocolate Sourdough Bread lies in the contrast. The slight sourness of the sourdough perfectly balances the sweetness and richness of the chocolate. It’s a sophisticated flavor combination that’s both comforting and exciting. Think of it as a grown-up version of your favorite chocolate treat.
Is Chocolate Sourdough Bread Healthy?
While Chocolate Sourdough Bread is undoubtedly a treat, it does offer some potential benefits. Sourdough fermentation can make bread easier to digest and may improve the availability of certain nutrients. The addition of dark chocolate can provide antioxidants. However, remember that it still contains sugar and carbohydrates, so moderation is key. It’s a delicious part of a balanced diet, not a healthy food.
Chocolate Sourdough Bread vs. Regular Chocolate Bread: Key Differences
The main difference lies in the leavening agent. Regular chocolate bread typically uses commercial yeast, resulting in a quicker rise and a sweeter, more cake-like texture. Chocolate Sourdough Bread, on the other hand, uses a sourdough starter, leading to a slower fermentation, a more complex flavor, and a chewier crumb.
Essential Ingredients and Equipment
Let’s gather what we need to make this baking adventure a success!
Choosing the Right Flour for Chocolate Sourdough Bread
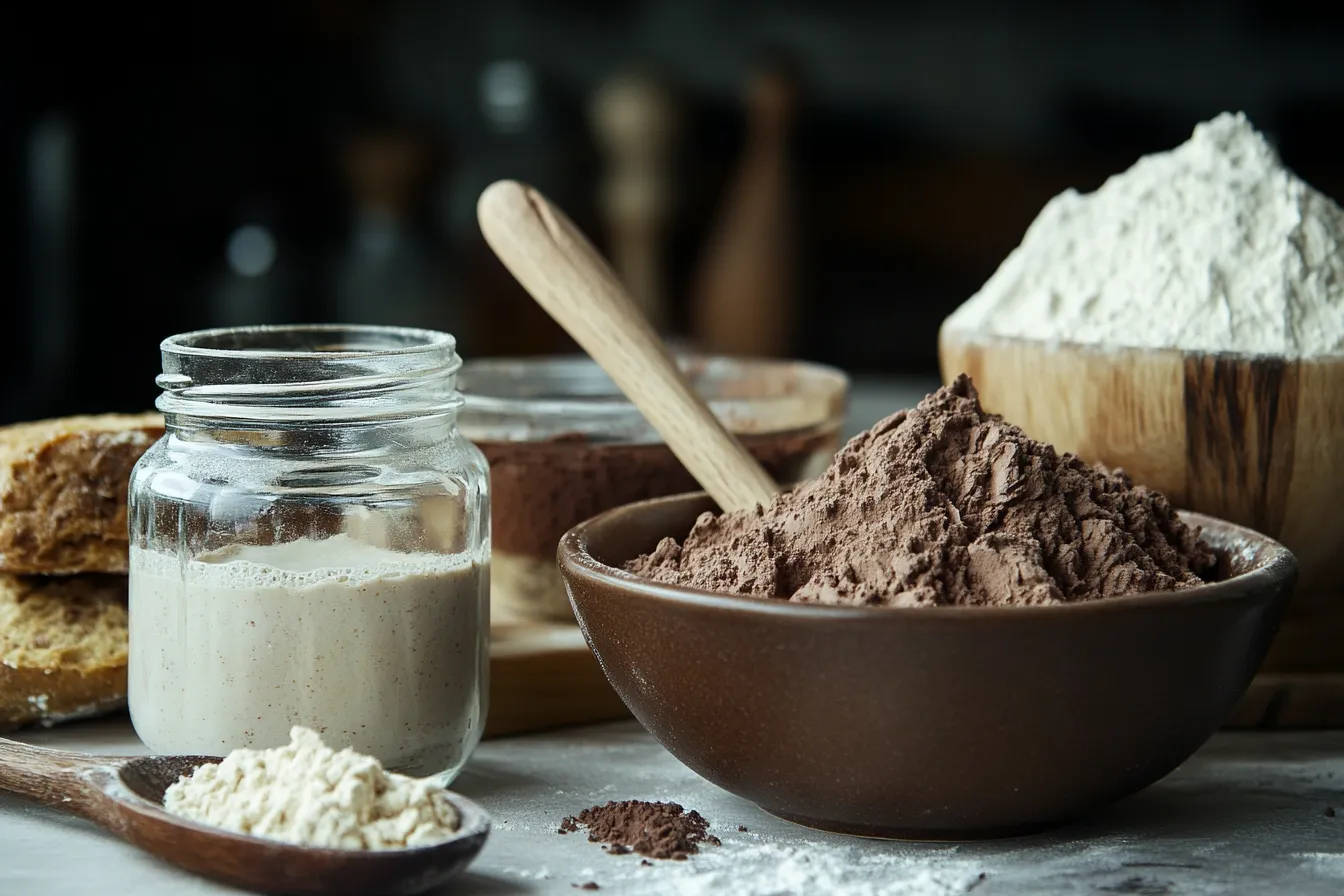
Bread flour is your best friend here. It has a higher protein content than all-purpose flour, which is crucial for developing the gluten structure that gives sourdough its characteristic chew. You can also experiment with a small portion of whole wheat flour for added flavor and nutrition, but bread flour should be the star.
Best Types of Chocolate for Sourdough Baking
You have options!
- Cocoa Powder: Unsweetened cocoa powder provides a deep chocolate flavor without adding extra sweetness. Dutch-processed cocoa will give a smoother, less bitter taste.
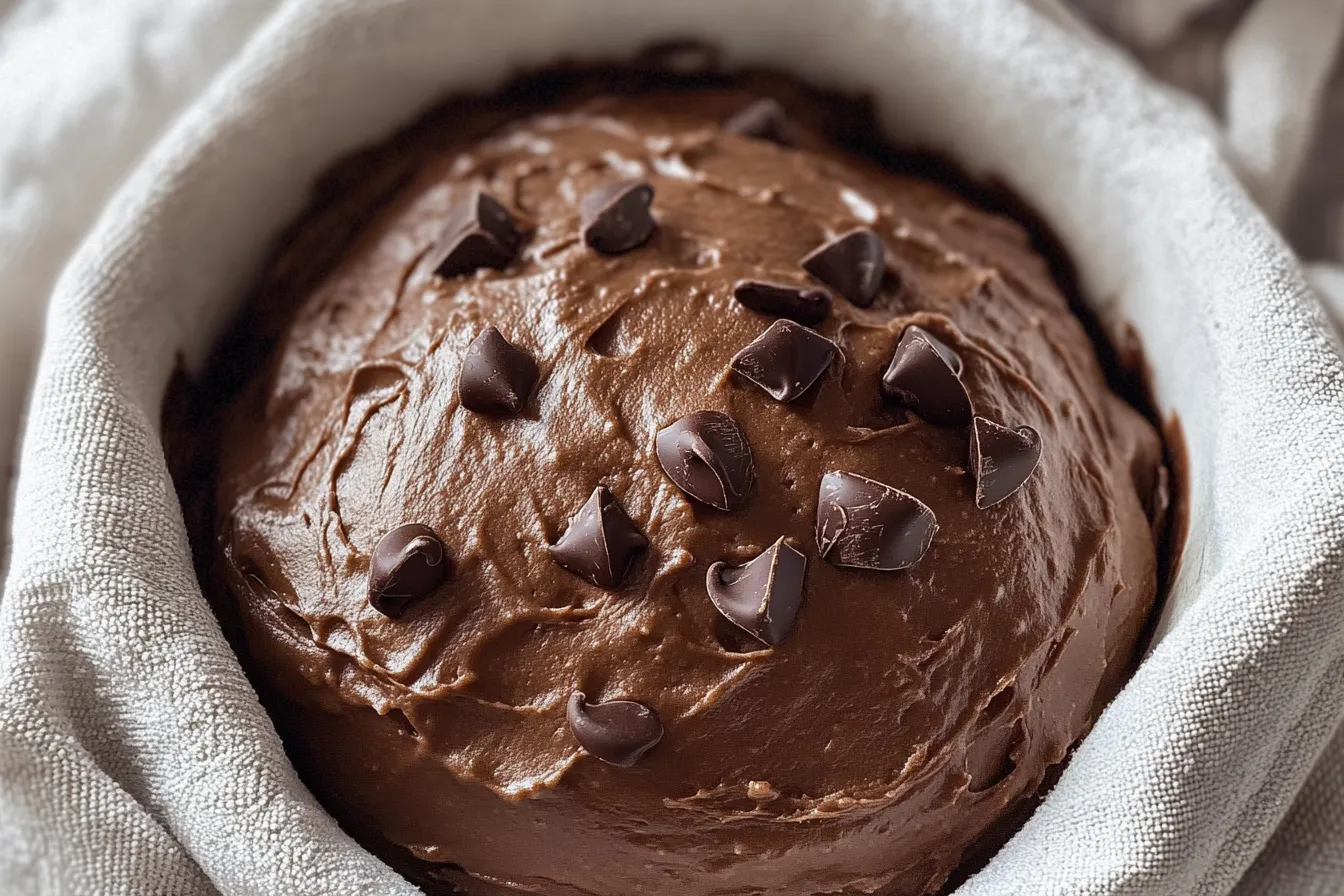
- Chocolate Chunks/Chips: These add pockets of melted chocolate goodness. Dark chocolate offers the most intense flavor, but milk or semi-sweet chocolate works well too.
- Chopped Chocolate Bars: For the ultimate indulgence, chop up your favorite high-quality chocolate bar.
The Importance of a Healthy Sourdough Starter
Your sourdough starter is the heart of your Chocolate Sourdough Bread. A healthy, active starter is essential for a good rise and that signature sourdough flavor. If you don’t have one, you can create your own or find a friend who’s willing to share!
Essential Equipment for Baking Chocolate Sourdough Bread
- Dutch Oven: This creates a steamy environment, resulting in a beautiful, crispy crust.
- Banneton Basket (Proofing Basket): This helps shape the loaf during its final proofing. A flour bowl can work in a pinch.
- Mixing Bowls: You’ll need a few different sizes.
- Kitchen Scale: Precision is key in sourdough baking.
- Dough Scraper: This helps handle the sticky dough.
- Lame or Sharp Knife: For scoring the dough before baking.
Mastering the 8 Easy Steps: The Ultimate Chocolate Sourdough Bread Recipe
Let’s get baking! This recipe is designed to be easy to follow, even for beginners.
Step 1: Preparing Your Active Sourdough Starter
About 8-12 hours before you plan to mix your dough, feed your starter. You want it to be bubbly and doubled in size – that’s when it’s at its peak activity and ready to use. This is often called an “active levain.”
Step 2: Mixing the Dough: Autolyse and Initial Mixing
- Autolyse: Combine the flour and water in a large bowl and mix until just combined. Let it rest, covered, for 30-60 minutes. This allows the flour to fully hydrate, resulting in a better texture.
- Initial Mixing: Add the active starter and salt to the autolyzed dough. Mix thoroughly. If using cocoa powder, add it now. If using chocolate chunks or chips, wait until the next step.
Step 3: Bulk Fermentation: Understanding the Process and Signs of Readiness
This is where the magic happens! The dough will rise and develop flavor. This typically takes 4-6 hours at room temperature, but the exact time depends on the temperature of your kitchen. The dough is ready when it has almost doubled in size and shows small bubbles throughout.
Step 4: Stretching and Folding: Developing Dough Strength and Structure
Every 30-45 minutes during the bulk fermentation, perform a set of “stretches and folds.” Gently stretch a portion of the dough upwards and fold it over onto itself. Rotate the bowl and repeat this process until you’ve gone all the way around. If using chocolate chunks or chips, add them during the first set of stretches and folds.
Step 5: Shaping Your Chocolate Sourdough Loaf
Gently turn the dough out onto a lightly floured surface. Shape it into a round or oval loaf. Don’t overwork the dough – be gentle!
Step 6: Proofing: Cold Fermentation in the Refrigerator
Place the shaped loaf in a well-floured banneton basket (or a bowl lined with a floured cloth). Cover it and refrigerate it for 12-18 hours. This “cold-proof” slows down the fermentation, developing a more complex flavor.
Step 7: Scoring Your Chocolate Sourdough Bread: Techniques and Designs
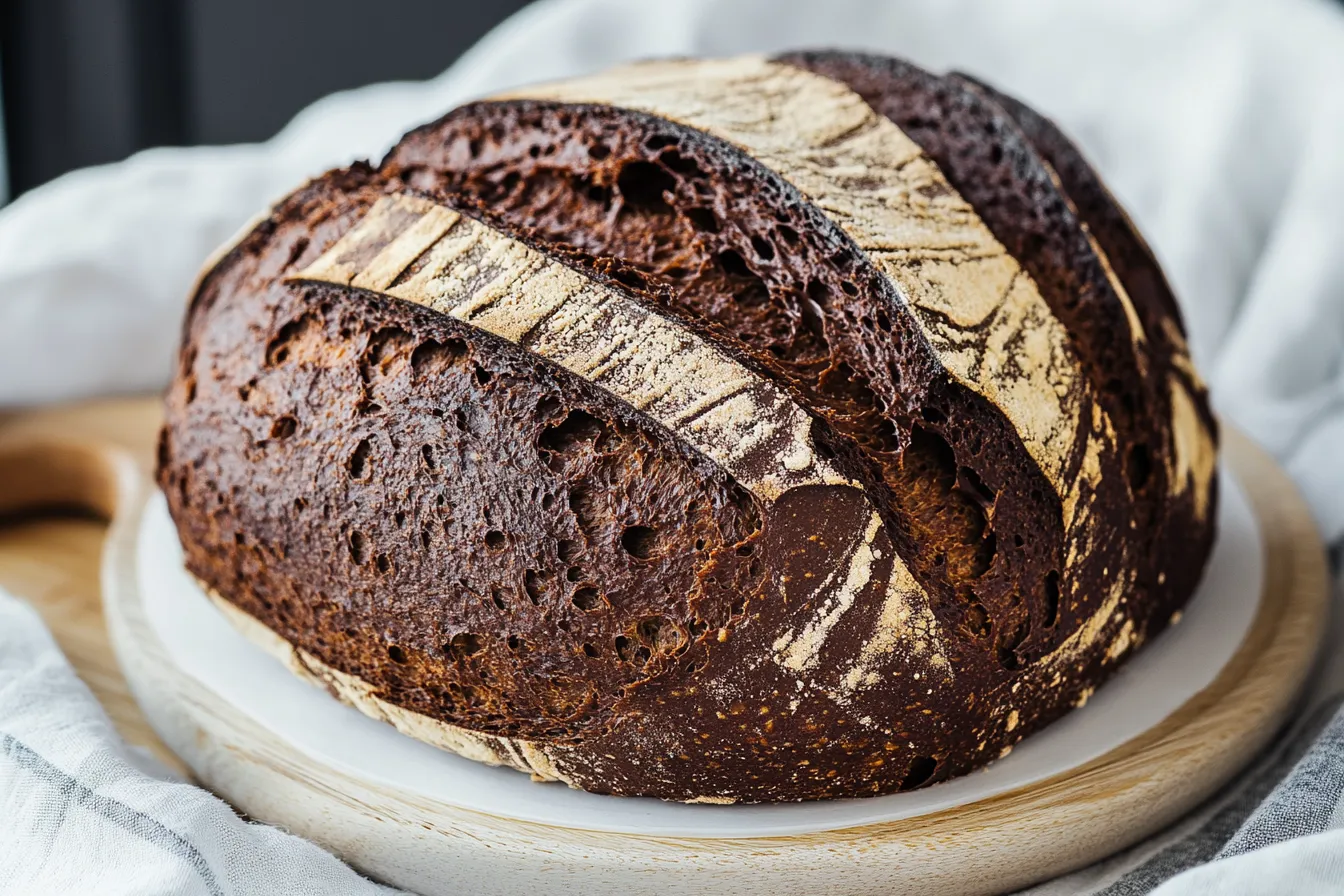
Before baking, carefully turn the loaf out of the banneton onto a piece of parchment paper. Use a lame or a very sharp knife to score the top of the dough. This controls how the bread expands during baking and creates a beautiful design.
Step 8: Baking Your Chocolate Sourdough Bread: Achieving the Perfect Crust and Crumb
- Dutch Oven Method (Recommended): Preheat your Dutch oven to 450°F (232°C). Carefully place the loaf (on the parchment paper) into the hot Dutch oven. Cover and bake for 20 minutes. Then, remove the lid and bake for another 25-30 minutes, or until the crust is deeply golden brown and the internal temperature reaches 200-210°F (93-99°C).
- Alternative Method: If you don’t have a Dutch oven, you can bake the loaf on a baking stone or baking sheet. You’ll need to create steam in the oven by placing a pan of hot water on the bottom rack.
Troubleshooting Common Chocolate Sourdough Bread Problems
Don’t worry if your first loaf isn’t perfect! Sourdough baking takes practice. Here are some common issues and how to fix them:
Why is My Chocolate Sourdough Bread Flat?
- Weak Starter: Make sure your starter is active and bubbly before using it.
- Over-proofing or Under-proofing: Pay close attention to the dough during bulk fermentation and proofing.
- Not Enough Gluten Development: Make sure you’re using bread flour and performing enough stretch and folds.
My Sourdough Isn’t Rising: Troubleshooting Starter and Fermentation Issues
- Cold Temperatures: Sourdough fermentation slows down in cold environments. Find a warmer spot for your dough.
- Inactive Starter: Your starter may need more frequent feedings or a warmer environment.
- Old Flour: Use fresh, high-quality flour.
Preventing a Gummy Texture in Chocolate Sourdough Bread
- Don’t Over-proof: Over-proofed dough can become gummy.
- Bake Thoroughly: Make sure the internal temperature reaches 200-210°F (93-99°C).
- Let it Cool Completely: Resist the urge to slice into the warm bread – it needs time to set.
Dealing with a Sour or Bitter Taste in Your Loaf
- Sourdough Flavor: A slight tang is normal, but excessive sourness can be due to over-fermentation. Adjust your fermentation times.
- Cocoa Powder: If using cocoa powder, make sure it’s unsweetened. Dutch-processed cocoa will have a less bitter flavor.
Achieving an Open Crumb in Chocolate Sourdough Bread
- Proper Hydration: The dough shouldn’t be too dry or too wet.
- Gentle Handling: Avoid overworking the dough during shaping.
- Good Gluten Development: Stretch and folds are crucial for building strength.
Variations and Enhancements for Chocolate Sourdough Bread
Once you’ve mastered the basic recipe, get creative!
Adding Nuts and Dried Fruits to Chocolate Sourdough Bread
Chopped walnuts, pecans, hazelnuts, dried cranberries, or cherries all make delicious additions. Add them during the first set of stretches and folds.
Chocolate Sourdough Bread with Chocolate Chips: Tips and Tricks
Use good-quality chocolate chips that hold their shape during baking. Don’t overmix the dough after adding them.
Incorporating Different Types of Chocolate: White, Milk, and Dark
Experiment with different types of chocolate to find your favorite flavor combination. White chocolate adds a creamy sweetness, while milk chocolate provides a classic flavor.
Creating a Vegan Chocolate Sourdough Bread Recipe
This is easily achievable! Sourdough is naturally vegan. Simply ensure your chocolate additions are also vegan (many dark chocolate options are).
Gluten-Free Chocolate Sourdough Bread: Adapting the Recipe
Gluten-free sourdough baking is a whole different ballgame. It requires specific gluten-free flour and techniques. Look for recipes specifically designed for gluten-free sourdough.
Serving and Storing Your Chocolate Sourdough Bread
Best Ways to Serve and Enjoy Chocolate Sourdough Bread
- Warm with Butter: A classic for a reason!
- Toasted with Nut Butter: Adds a delicious crunch and nutty flavor.
- With a Cup of Coffee or Tea: The perfect pairing.
- As French Toast: A decadent breakfast treat.
Pairing Chocolate Sourdough Bread with Drinks and Spreads
- Coffee: The bitterness of coffee complements the chocolate and sourdough.
- Red Wine: A bold red wine can stand up to the rich flavors.
- Cream Cheese: A tangy spread that balances the sweetness.
- Fruit Preserves: Raspberry or cherry jam pairs beautifully.
Storing Chocolate Sourdough Bread for Optimal Freshness
- Room Temperature: Store in a breadbox or an airtight container for up to 3 days.
- Refrigerator: Extend the shelf life by a few days.
- Freezer: Wrap tightly and freeze for up to 2 months. Thaw at room temperature or in the refrigerator.
Reheating Chocolate Sourdough Bread: Restoring the Crust and Crumb
To revive a slightly stale loaf, sprinkle it with water and bake it in a preheated oven at 350°F (177°C) for 10-15 minutes.
Advanced Techniques and Tips
Ready to take your Chocolate Sourdough Bread to the next level?
Double Chocolate Sourdough
Increase both the Cocoa and the Chocolate chip/chunk quantities for the ultimate experience.
Using a Levain.
A levain is simply a portion of your sourdough starter that you feed specifically for a bake. It’s the same as using an “active starter.”
Adjusting Hydration for Chocolate Sourdough Bread.
The addition of cocoa powder can make the dough slightly drier. You may need to add a little extra water to achieve the desired consistency.
Long Cold Fermentation for Enhanced Flavor.
Extending the cold fermentation (proofing) time in the refrigerator can develop even more complex flavors.
Frequently Asked Questions
Can I Use Instant Yeast Instead of Sourdough Starter?
No, instant yeast will not give you the same flavor or texture as sourdough. The unique characteristics of Chocolate Sourdough Bread come from the wild yeast and bacteria in the starter.
How Long Does Chocolate Sourdough Bread Last?
See the storage guidelines above.
Can I Freeze Chocolate Sourdough Dough?
Yes, you can freeze the dough after shaping. Thaw it in the refrigerator overnight before baking.
What is the best cocoa powder to use?
Unsweetened Dutch-processed cocoa powder is generally recommended for a smoother, less bitter flavor. However, natural cocoa powder works well too.
What if I don’t have a Dutch Oven?
See the alternative baking method above.
Is the added Sugar necessary?
The slight amount of sugar helps balance the tanginess of the sourdough, but it can be adjusted up, down, or removed to match your preference.
This comprehensive guide should equip you with everything you need to bake amazing Chocolate Sourdough Bread. Happy baking! Remember to share your creations and let us know how it goes. Now go forth and bake!

