It’s that time of year when the air gets crisp, and spooky season is in full swing. The leaves are turning, pumpkins are everywhere, and candy is on everyone’s mind. There’s nothing better than a warm, freshly baked treat that brings all the fun of Halloween into a single bite. These Halloween Cookie Bars do just that, and they’re about to become your new favorite tradition.
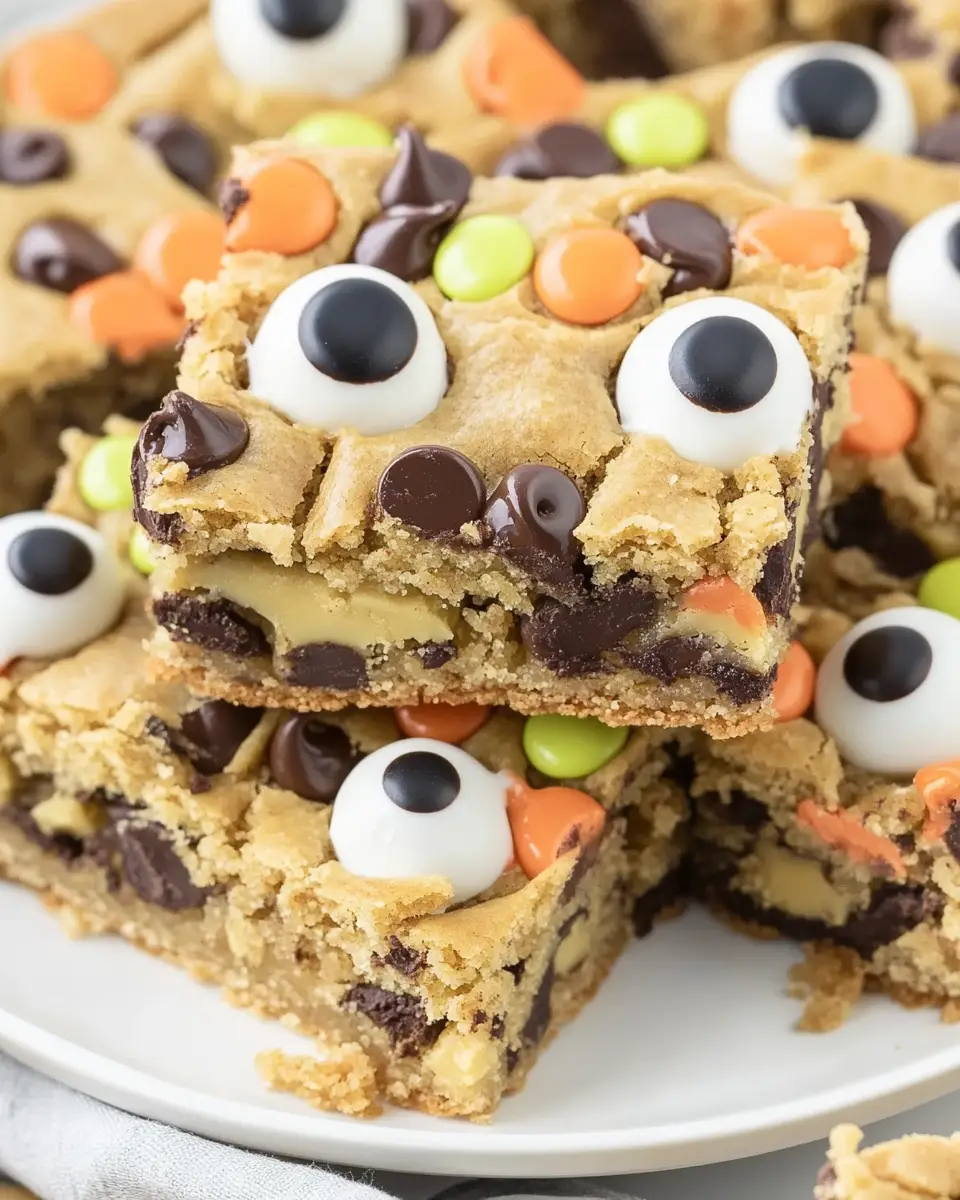
Why You’ll Love Halloween Cookie Bars
- They’re a total breeze to make—no fancy decorating needed.
- The mix of textures is incredible: chewy, soft, and loaded with crunch.
- It’s the perfect recipe for a crowd or a school bake sale.
- You can customize them with your favorite Halloween candy.
- They taste like a gooey, warm hug on a chilly fall evening.
What It Tastes Like
Imagine a super soft, thick peanut butter and oat cookie, but in bar form. The bars are rich with peanut butter and sweet brown sugar. You get pockets of melty chocolate and peanut butter chips in every bite. And the Halloween candies add a satisfying pop of color and a little extra crunch. It’s like a classic peanut butter cookie collided with a candy store.
Ingredients You’ll Need
To make these spooky good bars, you’ll need a few pantry staples and some festive treats.
- All-purpose flour: This is the base of our bars. It gives them structure.
- Old-fashioned oats: Oats are what give these bars their chewy, hearty texture. Don’t use instant oats here, as they’ll get too mushy.
- Baking soda: A little leavening agent to help the bars rise and get nice and soft.1
- Salt: Just a pinch to balance out all the sweetness and make the flavors pop.
- Unsalted butter: Make sure it’s softened to room temperature. This helps it cream together with the sugars for a smooth dough. If you only have salted butter, just skip the added salt.
- Creamy peanut butter: This is the star of the show! It gives the bars a rich, nutty flavor. I prefer creamy, but chunky would work if you want more texture.
- Granulated sugar and packed brown sugar: The combination gives a perfect mix of sweetness and chewiness. Brown sugar adds moisture and that classic cookie flavor.
- Large eggs: These are the binder, holding everything together.2
- Vanilla extract: A splash of vanilla always makes baked goods taste better. It adds warmth and depth.
- Semi-sweet chocolate chips and peanut butter chips: The classic duo! They melt beautifully into the dough.
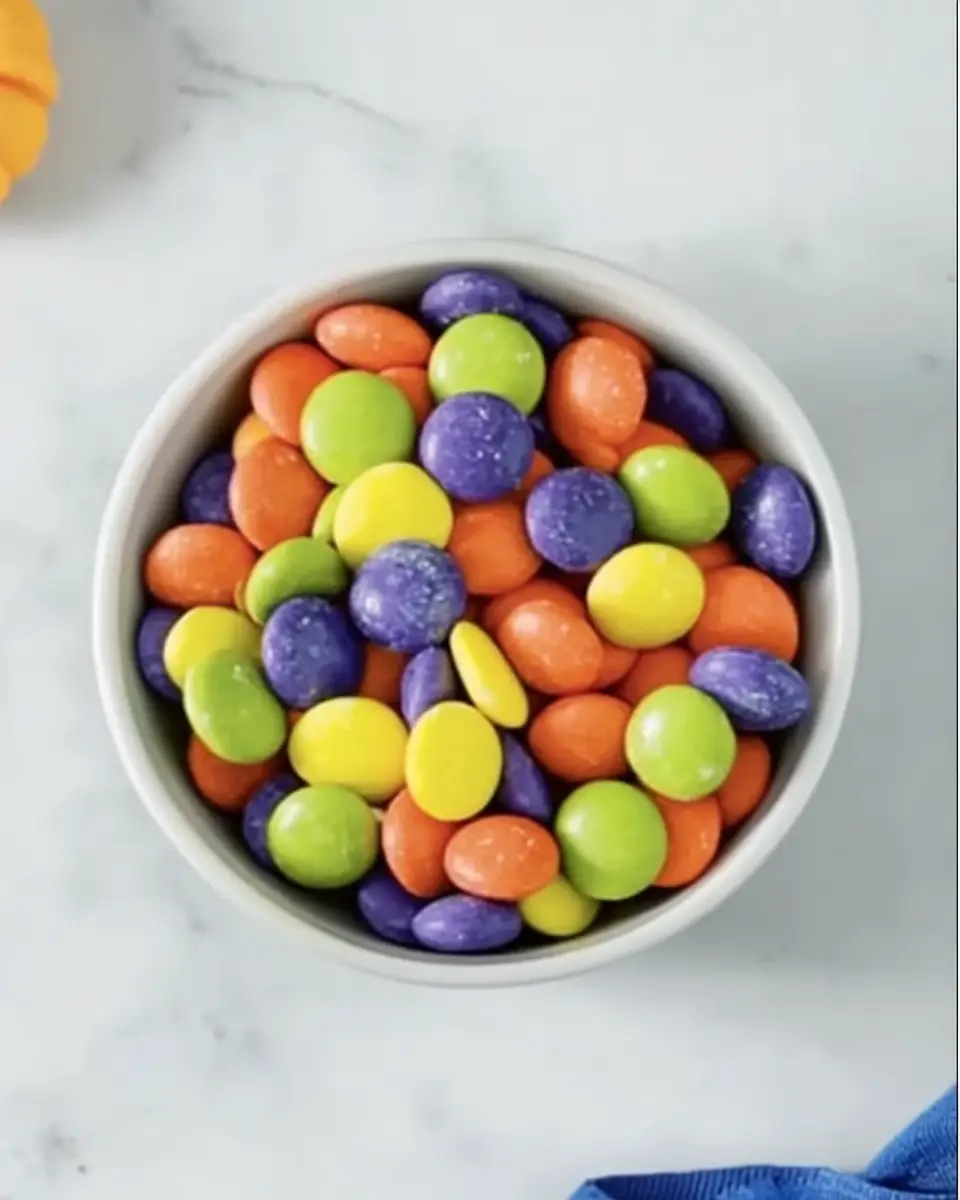
- Halloween-themed chocolate candies: Think M&Ms or Reese’s Pieces in festive colors. They add a fun crunch and a festive look.
- Candy eyeballs: Totally optional but highly recommended. They make these bars look so cute and spooky!
Step-by-Step Instructions
Prep your oven and pan: First, preheat your oven to 350°F (175°C). Line a 9×13-inch baking pan with parchment paper, leaving an overhang on the sides. This makes it super easy to lift the bars out later. Don’t skip this step!
Whisk the dry ingredients: In a medium bowl, whisk together the all-purpose flour, old-fashioned oats, baking soda, and salt. Set this bowl aside for now.
Cream the butter and sugars: In a large bowl or a stand mixer with the paddle attachment, beat the softened butter, creamy peanut butter, granulated sugar, and brown sugar together until the mixture is light and fluffy. This can take about 2-3 minutes. This step is why your butter needs to be soft!
Add the wet ingredients: Beat in the eggs one at a time, mixing well after each addition. Then, mix in the vanilla extract. Scrape down the sides of the bowl to make sure everything is well combined.
Combine wet and dry: Add the dry ingredient mixture to the wet mixture and mix on low speed until just combined. Don’t overmix or your bars will be tough.
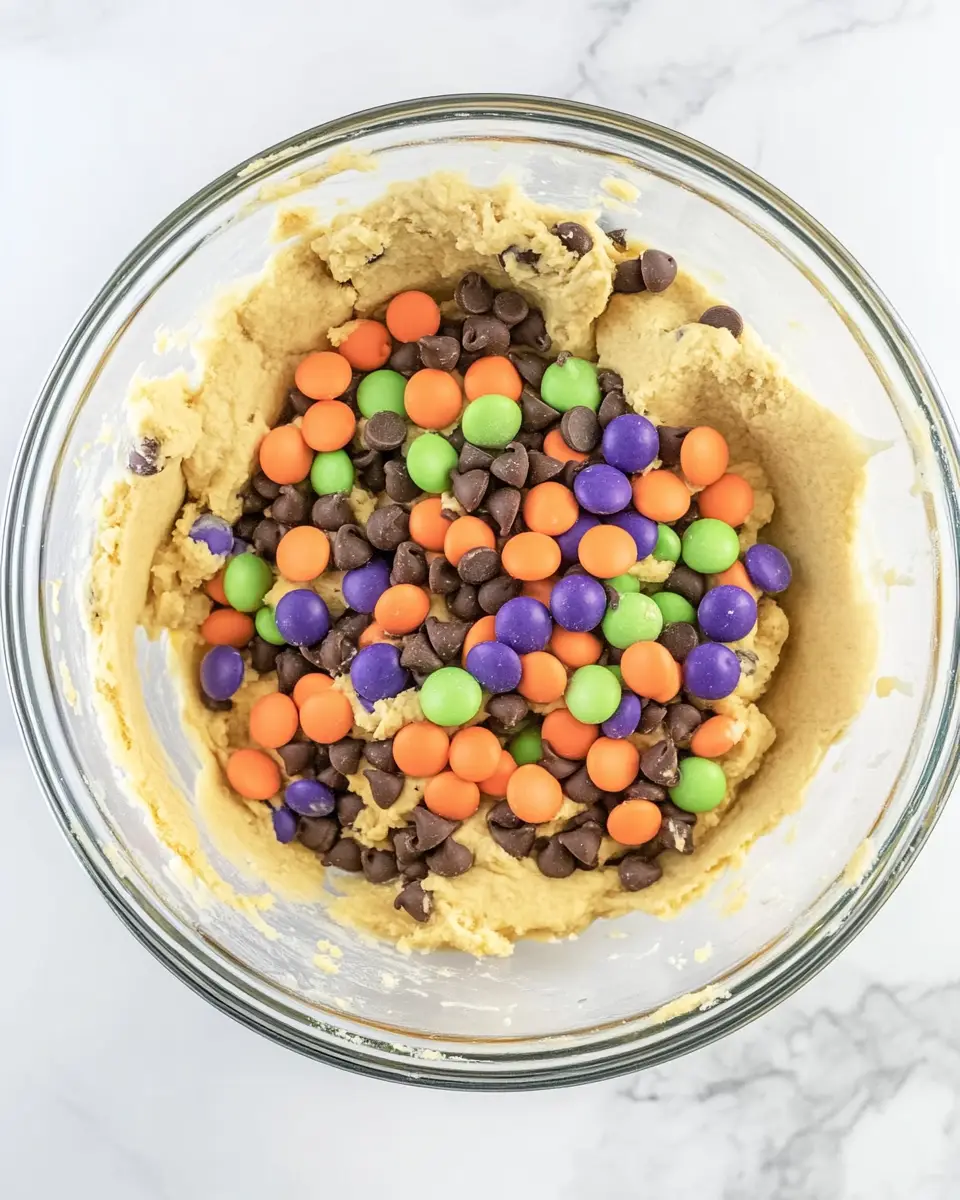
Fold in the goodies. Gently fold in the chocolate chips and peanut butter chips with a spatula.
Spread and bake: Press the dough evenly into your prepared baking pan. Sprinkle the Halloween candies and candy eyeballs all over the top. Press them down slightly so they stick. Bake for 25-30 minutes, or until the edges are golden brown and a toothpick inserted into the center comes out with moist crumbs attached.
Cool completely: Let the bars cool in the pan on a wire rack for at least 2 hours before lifting them out using the parchment paper overhang. This is the hardest part—you need to wait for them to firm up before you cut them.
Variations, Additions, And Substitutions
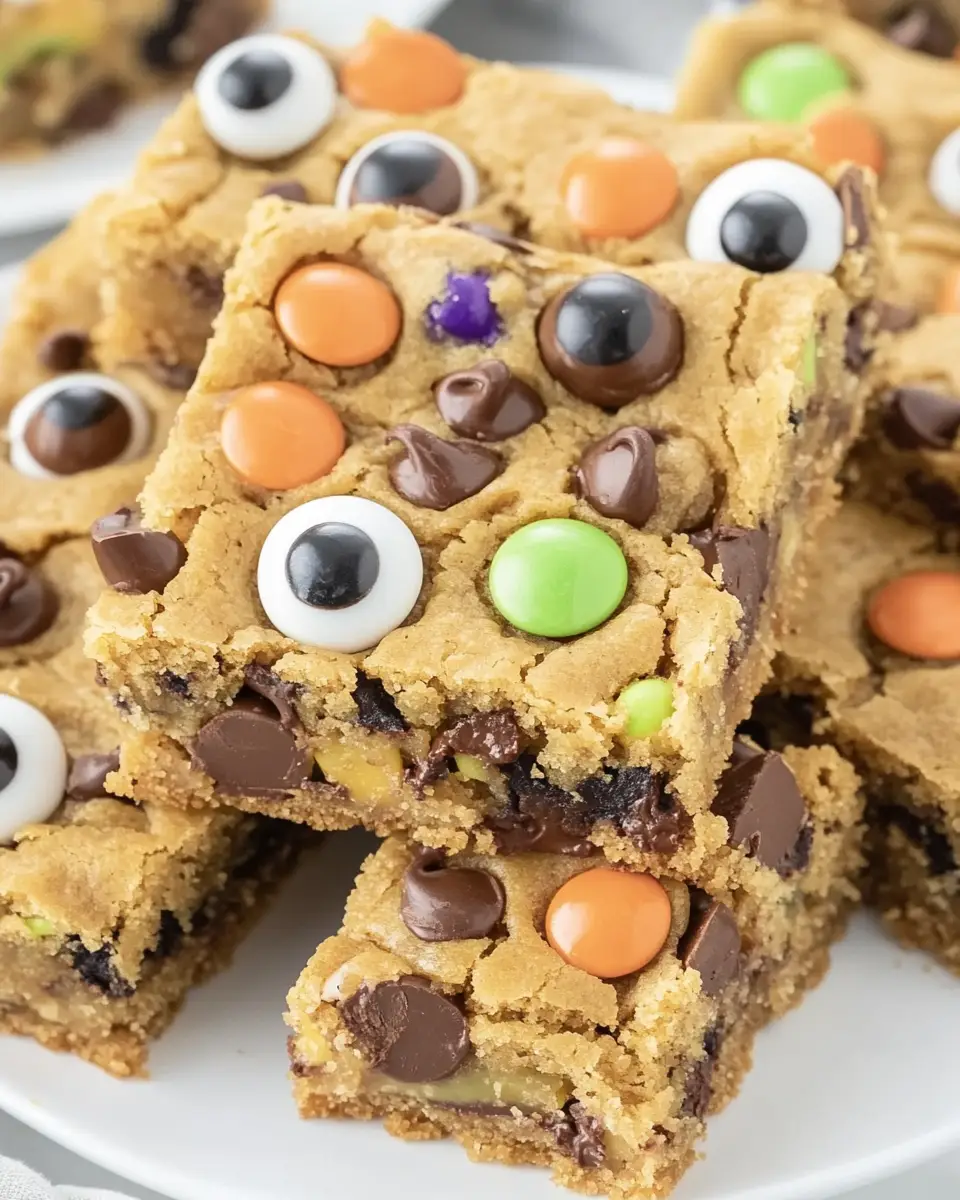
Instead of chocolate chips, you can use white chocolate or butterscotch. Add some chopped pecans or walnuts for a nutty flavor. If you want a gluten-free version, make use of a 1:1 gluten-free flour blend. You can also use a variety of Halloween candies, like candy corn or pretzels, to get the sweet and salty mixture.
Tips for Success
- Don’t overmix the dough. Overmixing develops gluten, which can make your bars tough instead of soft.
- Wait to cool. I know it’s hard, but let the bars cool completely. This is key to getting clean, beautiful cuts.
- Use softened butter. If your butter is too cold, it won’t cream properly. Too melted, and your bars will be greasy. Aim for a soft but not shiny texture.
- Adjust your bake time. All ovens are a little different. Start checking for doneness at 25 minutes.
What to Serve With Halloween Cookie Bars
These bars are perfect on their own, but they’re even better with a few friends. Serve them with a big glass of cold milk or a warm mug of apple cider. For a party, place them next to some caramel popcorn or frosted Halloween cupcakes. You could also serve them with a scoop of vanilla ice cream and a drizzle of chocolate sauce for a truly decadent dessert.
Storage And Reheating
Store the bars in an airtight container at room temperature for up to 5 days. You can also freeze them for up to 3 months. Just wrap the whole block of bars tightly in plastic wrap and then aluminum foil. Thaw them on the counter before serving. You can warm them up for a few seconds in the microwave to get that fresh-from-the-oven gooeyness back.
Frequently Asked Questions
Can I use instant oats instead of old-fashioned oats?
No, instant oats are thinner and will give the bars a mushier texture. Stick with old-fashioned oats for the best results.
How do I make sure the bars are not too greasy?
Make sure your butter is softened, not melted. Excessively melted butter can lead to a greasy texture.
What kind of candy can I use?
Any chocolate candy in Halloween colors works great! M&Ms, Reese’s Pieces, or even chopped-up Snickers or Kit Kats.
Can I bake these in a different-sized pan?
You can, but you’ll need to adjust the bake time. A smaller pan will result in thicker bars that need more time to bake. A larger pan will create thinner bars that will bake faster.

