Making bread at home might seem intimidating, but with this easy sourdough rye bread recipe, you’ll find it surprisingly straightforward and rewarding. Whether you’re a beginner or a seasoned baker, this guide will walk you through each step to create a loaf that’s not only delicious but also healthy and wholesome.
Why Choose Sourdough Rye Bread?
Health Benefits of Sourdough Rye Bread
The sourdough rye bread recipe isn’t just tasty; it’s also packed with health benefits. It’s easier to digest than regular bread because the fermentation process breaks down gluten and other hard-to-digest components. Plus, it has a lower glycemic index, which means it won’t spike your blood sugar as much. Moreover, rye flour itself is rich in fiber, vitamins, and minerals, making it a nutritious choice. If you’re interested in the nutritional perks, check out these Benefits of Sourdough Bread.
Additionally, the natural fermentation process enhances the availability of nutrients and beneficial bacteria, promoting a healthier gut. This makes sourdough rye bread an excellent option for those looking to improve their digestive health. The fermentation process also helps reduce phytates, which can inhibit the absorption of minerals, making the nutrients in the bread more bioavailable.
Unique Flavor and Texture of Homemade Sourdough Rye Bread
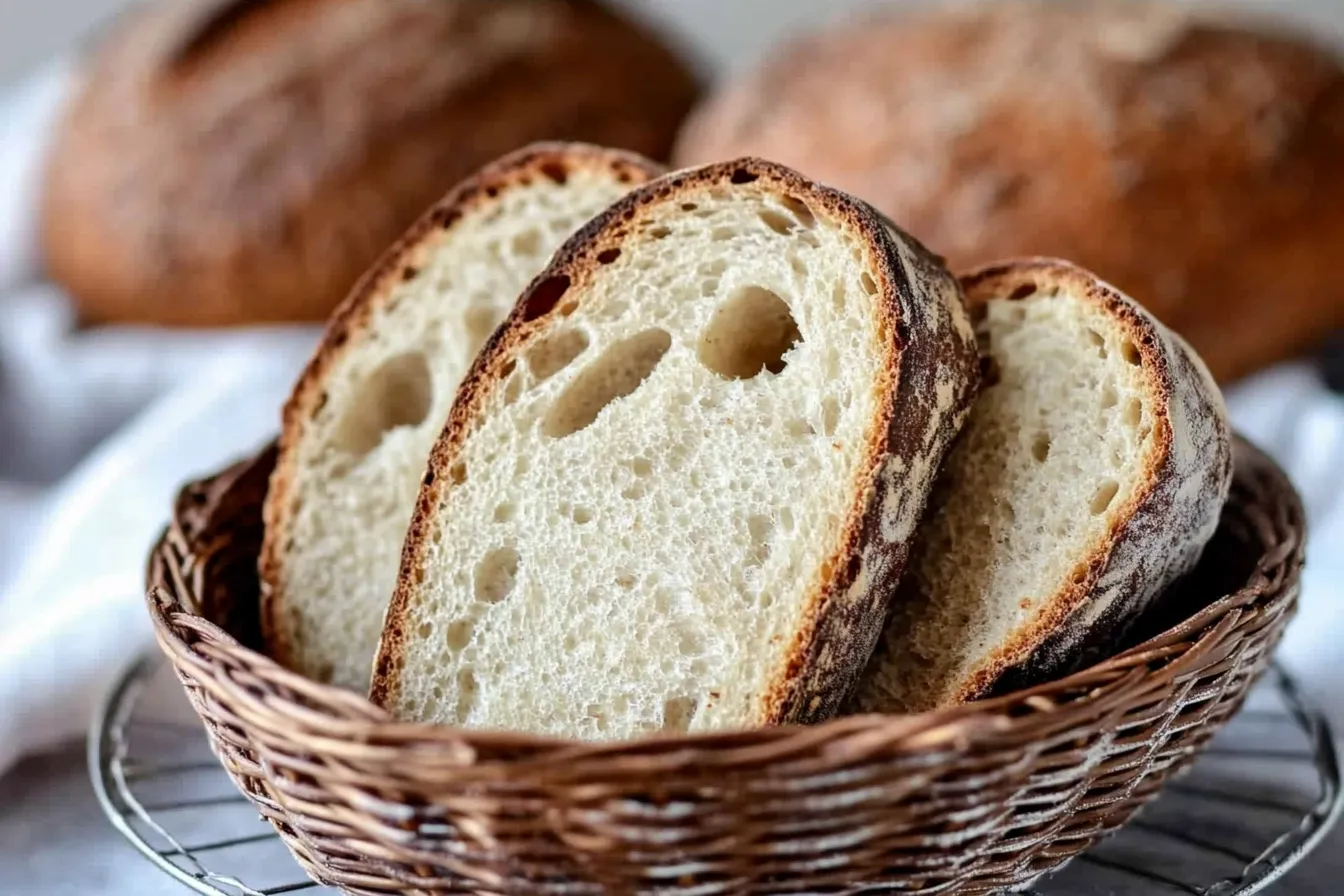
One bite of sourdough rye bread, and you’ll understand why it’s so special. The combination of the tangy sourdough with the hearty rye flour creates a flavor profile that’s both rich and complex. It’s the kind of bread that makes every sandwich or toast a gourmet experience. Plus, the texture is just right—crispy on the outside and soft on the inside.
Furthermore, the distinctive sour flavor comes from the lactic acid bacteria in the starter, which gives the bread its characteristic tang. This tangy flavor pairs perfectly with the slightly sweet and nutty taste of rye, creating a balanced and delightful bread. The long fermentation also contributes to a moist crumb and chewy texture, making each bite satisfying.
Ingredients Needed for Quick Sourdough Rye Bread Recipe
Basic Ingredients
To make this homemade sourdough rye loaf, you’ll need just a few basic ingredients:
- 2 cups rye flour
- 1 cup all-purpose flour
- 1 cup sourdough starter
- 1 1/2 cups water
- 2 teaspoons salt
These ingredients are simple, but they come together to create a loaf that’s bursting with flavor and nutrition. Rye flour is the star of this recipe, providing a robust taste and dense texture. All-purpose flour helps lighten the loaf and gives it structure. The sourdough starter, full of natural yeast and bacteria, is what makes this bread rise and develop its unique flavor. Finally, water and salt bring everything together, ensuring the dough is hydrated and seasoned.
Optional Additions
Want to jazz up your bread? Try adding seeds, nuts, or spices. Caraway seeds are a classic choice for rye bread, but you can also get creative with sunflower seeds, chopped nuts, or even a sprinkle of cinnamon for a unique twist. Adding these ingredients can enhance the flavor and texture of your bread, making each loaf a little different and exciting.
For instance, adding caraway seeds gives the bread a distinctive anise-like flavor, which is traditional in many rye bread recipes. Sunflower seeds add a pleasant crunch and a slightly nutty taste, while chopped nuts can provide extra richness and texture. If you’re feeling adventurous, try adding dried fruits like raisins or cranberries for a sweet contrast to the tangy sourdough.
Step-by-Step Instructions for Rustic Sourdough Rye Bread
Preparing the Sourdough Starter
First things first, you’ll need an active sourdough starter. If you don’t have one, you can make one from scratch, but it takes about a week. Once your starter is ready, make sure to feed it regularly. For a detailed guide on maintaining your starter, check out this Guide to Using Sourdough Starter.
To prepare your starter for baking, take it out of the fridge and let it come to room temperature. Then, feed it with equal parts flour and water, and let it sit at room temperature for 4-6 hours until it’s bubbly and active. This ensures that your starter is ready to leaven the dough effectively, giving your bread the rise and flavor it needs.
Mixing and Kneading the Dough
- In a large bowl, mix the rye flour, all-purpose flour, and salt.
- Add the sourdough starter and water. Mix until you have a shaggy dough.
- Turn the dough onto a lightly floured surface and knead it for about 10 minutes. The dough should be smooth and slightly sticky.
- Place the dough back in the bowl, cover it with a damp cloth, and let it rest for about an hour.
Kneading the dough helps develop gluten, which gives the bread its structure and chewiness. If the dough feels too sticky, add a little more flour, but be careful not to add too much, as this can make the bread dense. The initial resting period, also known as autolyse, allows the flour to fully hydrate and the gluten to relax, making the dough easier to work with.
Fermentation and Proofing for Quick Sourdough Rye Bread Recipe
First Fermentation
The first fermentation is crucial for developing flavor and texture. Place the dough in a greased bowl, cover it, and let it ferment at room temperature for about 4-6 hours. The dough should double in size. For the best results, keep the dough in a warm, draft-free area.
During this time, the natural yeast and bacteria in the sourdough starter will break down the starches in the flour, producing carbon dioxide and alcohol. This process, called bulk fermentation, not only makes the dough rise but also develops the bread’s flavor. The longer the fermentation, the more complex the flavor, but be careful not to let it overproof, as this can cause the dough to collapse.
Shaping and Second Proofing
Once the dough has fermented, turn it out onto a lightly floured surface. Shape it into a round or oval loaf, depending on your preference. Place the shaped dough on a parchment-lined baking sheet or in a proofing basket. Cover it with a cloth and let it proof for another 2-3 hours, or until it has risen noticeably.
Shaping the dough helps to create surface tension, which is important for a good rise in the oven. Handle the dough gently to avoid knocking out the air bubbles that have formed during fermentation. The second proofing, also known as the final rise, allows the dough to expand and develop further. It’s essential to let the dough rise fully to ensure a light and airy crumb in your easy sourdough rye bread recipe.
Baking the Bread
Preparing the Oven
Preheat your oven to 450°F (230°C). If you have a Dutch oven, place it inside to preheat as well. This helps create steam, which is crucial for a crispy crust. If you don’t have a Dutch oven, you can still bake your bread on a baking sheet—just make sure to add a pan of water to the bottom of the oven to generate steam.
The steam helps keep the surface of the dough moist during the initial stages of baking, allowing it to expand fully and develop a beautiful crust. Without steam, the crust can form too quickly, preventing the bread from rising properly. Preheating the Dutch oven also ensures that the bread bakes evenly and develops a nice, golden crust.
Baking Process
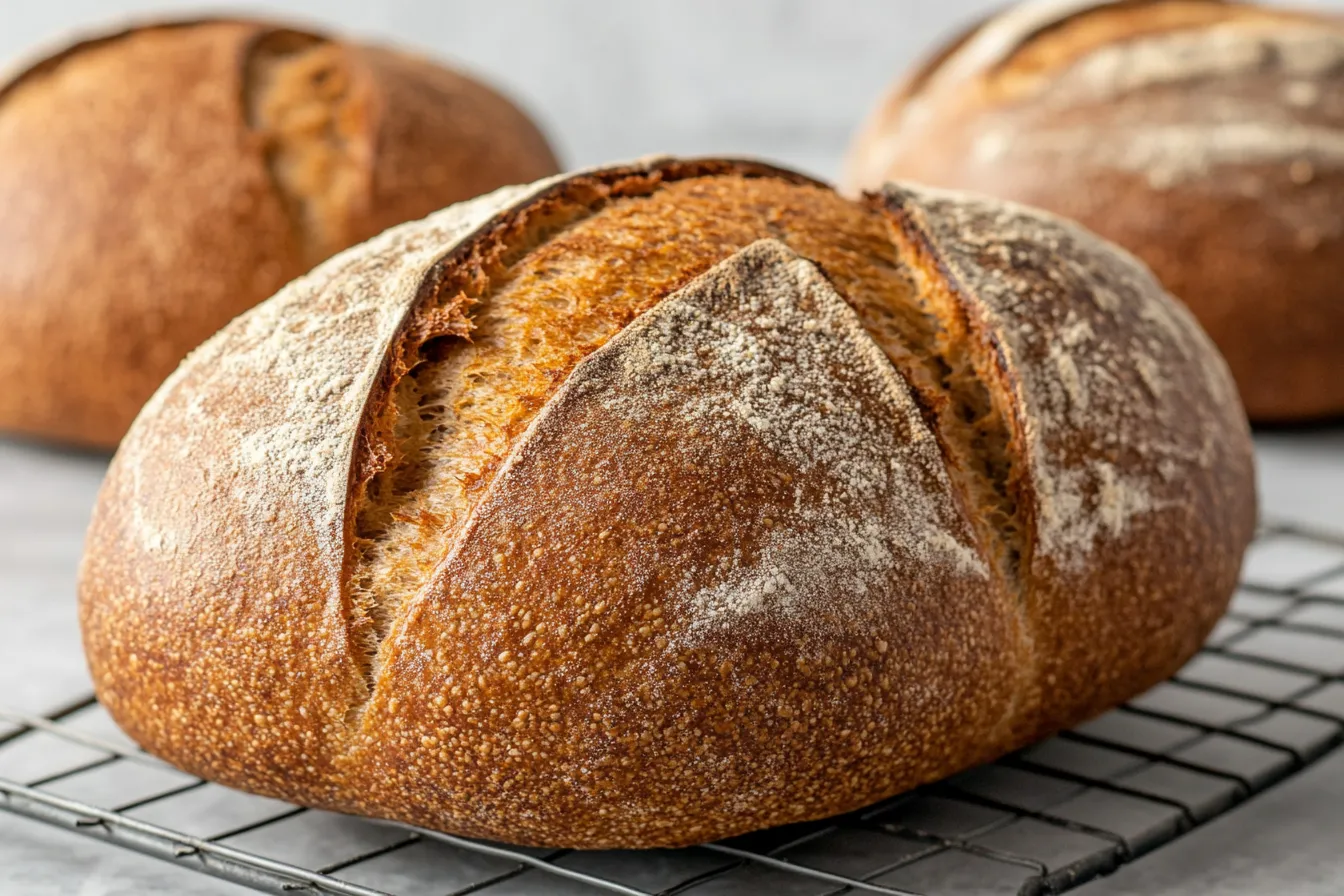
Carefully transfer your dough to the preheated Dutch oven or baking sheet. Score the top with a sharp knife to allow the bread to expand while baking. Bake for 20 minutes with the lid on, then remove the lid and bake for another 20-25 minutes until the crust is a deep golden brown. Let the bread cool completely on a wire rack before slicing.
Scoring the dough helps control the direction in which the bread expands, preventing it from bursting unevenly. The initial baking with the lid on traps steam inside, creating a moist environment that helps the bread rise. Removing the lid for the second half of baking allows the crust to develop fully, giving the bread its characteristic texture and color.
Tips and Troubleshooting
Common Issues and Solutions
If your rustic sourdough rye bread turns out dense, don’t fret. It could be due to under-proofing or not enough kneading. Make sure to give the dough enough time to rise and develop gluten. Also, check your starter—it should be bubbly and active.
Another common issue is a flat loaf, which can result from over-proofing or weak gluten structure. To avoid this, make sure your dough has the right balance of hydration and gluten development. You can also try performing a “float test” on your starter: drop a small amount of starter into water, and if it floats, it’s ready to use.
Enhancing Your Recipe
Feel like experimenting? Try different types of rye flour, or mix in whole grains for added texture. You can also adjust the hydration level to see how it affects the bread’s crumb and crust. For more ideas, take a look at these Rye Flour Baking Tips.
Additionally, you can play with the fermentation times to achieve different flavor profiles in your easy sourdough rye bread recipe. A longer, slower fermentation will produce a more pronounced sour flavor, while a shorter fermentation will yield a milder taste. Adjusting the oven temperature and baking time can also impact the crust and crumb, allowing you to customize your bread to your liking.
Serving and Storing Sourdough Rye Bread
Serving Suggestions
This artisan sourdough rye bread is incredibly versatile. Enjoy it with butter and jam for breakfast, or use it to make a hearty sandwich. It pairs wonderfully with savory spreads, cheeses, and smoked meats.
For a classic combination, serve it with a simple spread of butter and a sprinkle of sea salt. It also makes a fantastic base for open-faced sandwiches, topped with ingredients like avocado, smoked salmon, or a poached egg. For a more rustic meal, pair it with soups or stews, where its hearty texture can stand up to rich, flavorful broths in your easy sourdough rye bread recipe.
Storing Your Bread
To keep your bread fresh, store it in a paper bag at room temperature for up to three days. For longer storage, slice the bread and freeze it. When you’re ready to enjoy it, just pop a slice in the toaster or oven to warm it up.
If you prefer a soft crust, store the bread in a plastic bag, but be aware that this can make the crust less crispy over time. To revive the crust, simply reheat the bread in a 350°F (175°C) oven for 5-10 minutes. For the best results, always let the bread cool completely before storing it to prevent condensation from making the crust soggy.
Frequently Asked Questions
How long does it take to make sourdough rye bread from start to finish?
The entire process, including fermentation and baking, takes about 8-10 hours, but most of that time is hands-off. This allows you to go about your day while the dough works its magic.
Can I use whole grain rye flour in this recipe?
Absolutely! Whole grain rye flour adds a rich, earthy flavor. You might need to adjust the water content slightly, as whole grains can absorb more moisture. Start by adding a little extra water and adjust as needed until the dough reaches the right consistency.
Why is my sourdough rye bread dense?
Dense bread is often due to under-proofing. Make sure your dough has doubled in size during the first fermentation. Also, check that your sourdough starter is active and bubbly. Another factor could be insufficient kneading, which prevents the gluten from developing properly.
How do I maintain my sourdough starter?
Feed your starter with equal parts flour and water daily if kept at room temperature, or weekly if stored in the fridge. Always discard or use a portion before feeding. This keeps the starter healthy and active, ensuring it has enough food to thrive.
What are some variations of sourdough rye bread I can try?
Experiment with different seeds like caraway, fennel, or sesame. You can also add dried fruits, nuts, or herbs for unique flavor combinations. Try mixing in some whole wheat or spelt flour for added complexity, or incorporate spices like cinnamon or cardamom for a sweet twist.
Making sourdough rye bread at home is a fulfilling endeavor that brings the rich flavors of traditional baking into your kitchen. By following this easy sourdough rye bread recipe, you’ll be able to enjoy a delicious loaf that’s perfect for any occasion. Happy baking!


