Ever bitten into a perfectly flaky, buttery gipfeli and wondered how to recreate that magic at home? You’re in the right place! This guide is all about unlocking the secrets of the gipfeli recipe, taking you from a curious baker to a gipfeli-making pro. We’ll cover everything from the essential ingredients to troubleshooting common baking problems, and even explore some delicious variations. So, preheat your oven, and let’s get started!
What Makes a Gipfeli Recipe a Gipfeli? (Beyond the Croissant)
Before we dive into mixing and baking, let’s clear up a common question: What exactly is a gipfeli recipe, and how is it different from, say, a French croissant? While they share a similar crescent shape and a love of lamination (that’s the process of creating those beautiful layers), there are some key distinctions.
Gipfeli vs. Croissant: Key Differences in Ingredients and Technique
The most noticeable difference is often the texture. A true Swiss gipfeli tends to be a little less airy and a bit more substantial than a classic croissant. This comes down to a few factors:
- Dough Richness: Gipfeli dough often has a slightly lower butter content compared to croissants. This might seem counterintuitive, but it contributes to that denser, more satisfying bite.
- Proofing Time: Gipfeli typically has a shorter proofing time, which also affects the final texture.
- Shape: While both are crescents, gipfeli often have a more pronounced “belly” and slightly stubbier ends.
The History and Cultural Significance of Gipfeli in Switzerland
Gipfeli is more than just a pastry in Switzerland; they’re a cultural institution! They’re a staple of Swiss breakfasts, often enjoyed with coffee and jam. You’ll find them in bakeries across the country, each with its own subtle variation on the classic gipfeli recipe. Their history is intertwined with Swiss baking traditions, evolving over generations to become the beloved pastry they are today. While the exact origins are debated, it’s clear that gipfeli has been a part of Swiss life for a long time.
Identifying an Authentic Swiss Gipfeli: Shape, Texture, and Taste
So, how can you tell if you’re looking at a real Swiss gipfeli? Here’s what to look for:
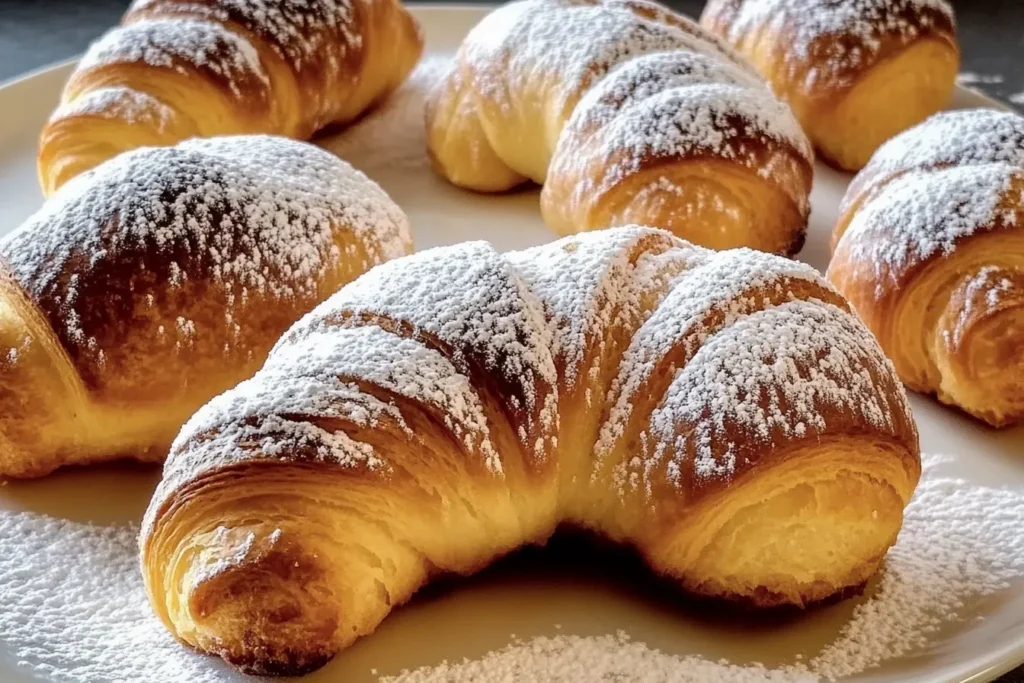
- Shape: Look for that characteristic crescent with a slightly plump middle and defined ends.
- Texture: It should be flaky, of course, but with a bit more chewiness than a super-light croissant.
- Taste: The flavor should be buttery and slightly sweet, with a hint of saltiness. The perfect gipfeli has a beautiful balance.
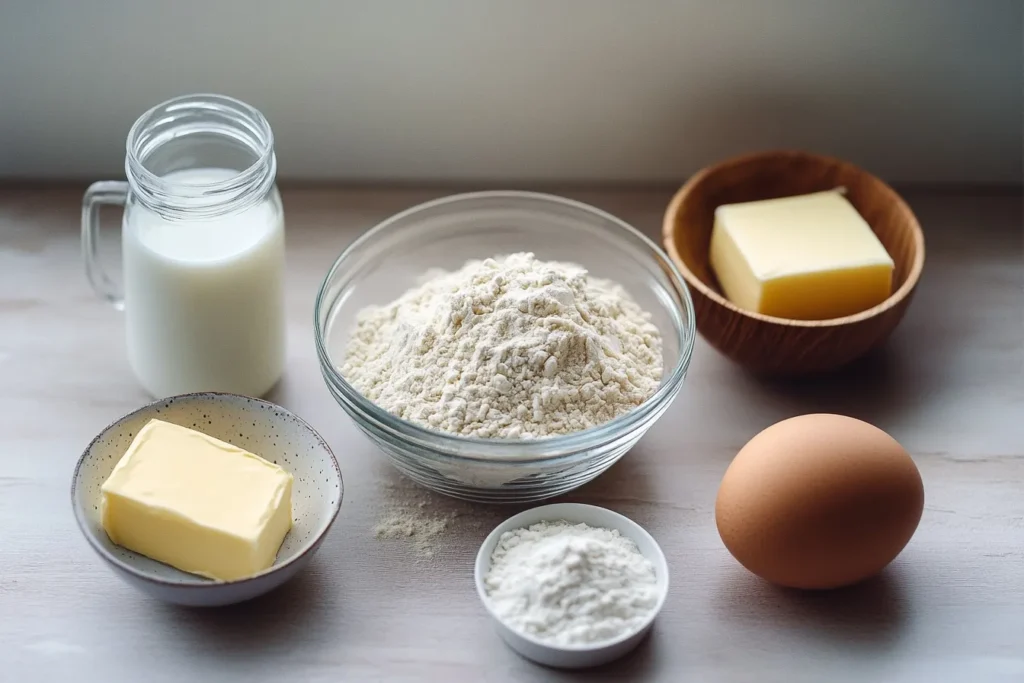
Essential Ingredients for the Perfect Gipfeli Recipe
Now for the fun part – the ingredients! The quality of your ingredients will directly impact the final result, so choose wisely. This gipfeli recipe relies on a few key components.
Choosing the Right Flour for a Flaky Gipfeli
Flour is the backbone of your gipfeli. Bread flour is generally recommended for its higher protein content, which develops gluten and contributes to that desirable chewiness and structure. You can experiment with all-purpose flour, but you might need to adjust the hydration (liquid content) slightly.
The Importance of High-Quality Butter in Your Gipfeli Recipe
Butter, butter, butter! It’s the heart and soul of a good gipfeli. Use a high-quality, European-style butter with a higher fat content (at least 82%). This will give you the best flavor and those beautiful, distinct layers. The butter should be cold, but pliable – think of it like firm modeling clay.
Yeast Options: Fresh vs. Active Dry vs. Instant
You have choices when it comes to yeast:
- Fresh Yeast: This is a great option if you can find it. It often provides a slightly more complex flavor.
- Active Dry Yeast: This needs to be “proofed” in warm liquid before adding to the other ingredients.
- Instant Yeast: This can be added directly to the dry ingredients, making it the most convenient option.
For this gipfeli recipe, instant yeast is perfectly fine and simplifies the process.
Other Key Ingredients: Milk, Salt, Sugar, and Optional Egg Wash
- Milk: Adds moisture and richness to the dough. Whole milk is best.
- Salt: Enhances the flavor and controls the yeast activity.
- Sugar: Provides food for the yeast and contributes to browning.
- Egg Wash (Optional): A mixture of egg and milk brushed on before baking gives the gipfeli a beautiful golden sheen.
Gipfeli Recipe: 6 Splendid Steps to Baking Perfection (Pro-Level)
Ready to bake? Here’s our step-by-step gipfeli recipe, designed to guide you to success:
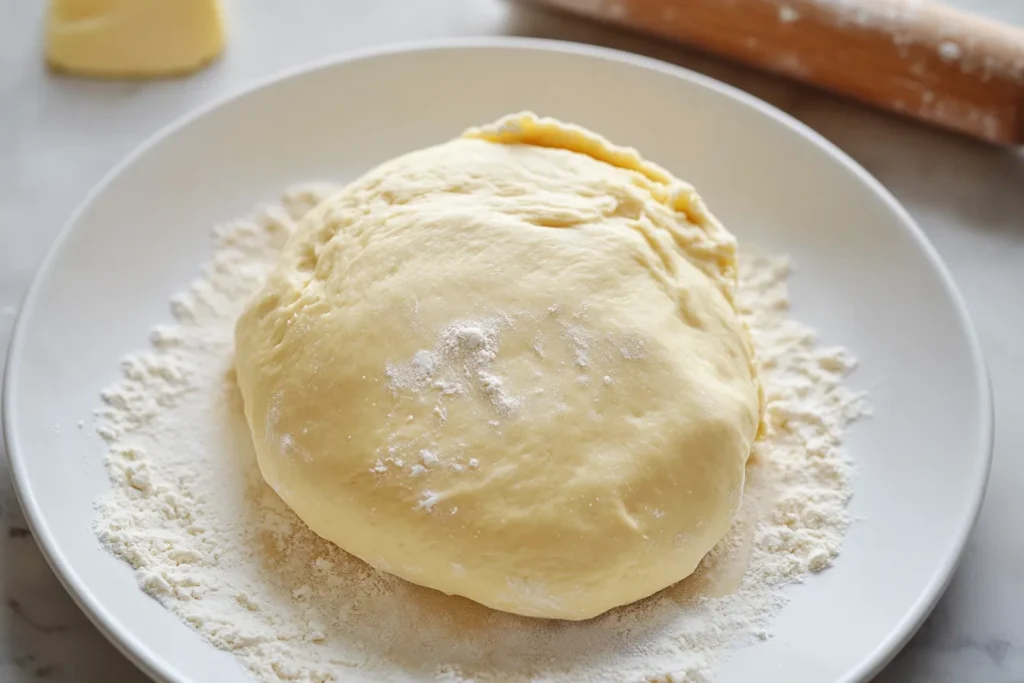
Step 1: Preparing the Dough (Detailed instructions with time stamps)
(0:00 – 0:15) Mixing the Dough: In a large bowl (or the bowl of a stand mixer), combine the flour, instant yeast, sugar, and salt. Add the cold milk and mix until a shaggy dough forms.
(0:15 – 0:25) Kneading the Dough: Turn the dough out onto a lightly floured surface and knead for about 8-10 minutes (or 5-7 minutes with a stand mixer) until it becomes smooth and elastic. The dough should pass the “windowpane test” – you should be able to stretch a small piece thin enough to see light through it without tearing.
(0:25 – 0:30) First Rise (Bulk Fermentation): Place the dough in a lightly oiled bowl, cover it, and let it rise in a warm place for about 1-1.5 hours, or until doubled in size.
Step 2: Mastering Lamination: Creating Those Perfect Layers
(1:30 – 1:45) Preparing the Butter Block: While the dough is rising, prepare your butter block. Place the cold, pliable butter between two sheets of parchment paper and use a rolling pin to shape it into a rectangle (about 6×8 inches).
(1:45 – 2:00) Encasing the Butter: Once the dough has doubled, roll it out into a larger rectangle (about 12×16 inches). Place the butter block in the center, leaving a border of dough around the edges. Fold the dough over the butter like an envelope, sealing the edges completely.
(2:00 – 2:30) First Turn: Gently roll the dough out into a long rectangle (about 24 inches long). Fold it into thirds, like a letter. This is your first “turn.” Wrap the dough in plastic wrap and chill in the refrigerator for 30 minutes.
(2:30 – 3:00) Second and Third Turns: Repeat the rolling and folding process two more times, chilling the dough for 30 minutes after each turn. You’ll have completed a total of three turns.
Step 3: Shaping Your Gipfeli: Techniques for the Classic Crescent
(3:00 – 3:15) Rolling and Cutting: After the final chill, roll the dough out into a large rectangle (about 1/8 inch thick). Use a sharp knife or pizza cutter to cut the dough into triangles.
(3:15 – 3:30) Shaping the Crescents: Starting at the base of each triangle, gently roll it up towards the tip, stretching slightly as you go. Curve the ends inwards to create the classic crescent shape.
Step 4: Proofing: Patience for the Perfect Rise
(3:30 – 4:30) Final Proof: Place the shaped gipfeli on baking sheets lined with parchment paper. Cover them loosely and let them proof in a warm place for about 1-2 hours, or until they are puffy and almost doubled in size.
Step 5: Baking Your Gipfeli: Achieving Golden-Brown Perfection
(4:30 – 4:50) Preheat and Bake: Preheat your oven to 400°F (200°C). If using an egg wash, brush the gipfeli gently with it. Bake for 18-22 minutes, or until they are golden brown and cooked through.
Step 6: Cooling and Serving: Enhancing the Gipfeli Experience
(4:50 – 5:00) Cooling: Transfer the baked gipfeli to a wire rack to cool completely. This prevents them from getting soggy. Enjoy them warm or at room temperature.
Troubleshooting Common Gipfeli Baking Problems
Even with a great gipfeli recipe, things can sometimes go wrong. Here’s how to troubleshoot some common issues:
Why are my Gipfeli not flaky?
- Not Enough Turns: Make sure you complete all three turns during lamination.
- Butter Too Warm: If the butter melts into the dough, you’ll lose those distinct layers. Keep everything cold!
- Overworking the Dough: Be gentle when rolling and folding.
My Gipfeli Dough is Too Sticky: Solutions and Tips
- Add More Flour (Gradually): If the dough is too sticky to handle, add a little bit more flour, a tablespoon at a time, until it’s manageable.
- Chill the Dough: Chilling the dough can make it less sticky and easier to work with.
- Use a bench scraper.
Preventing Flat Gipfeli: Achieving Maximum Rise
- Proper Proofing: Make sure the dough has doubled in size during both the bulk fermentation and the final proof.
- Don’t Overproof: Overproofed dough can collapse in the oven.
- Hot Oven: A hot oven is essential for creating steam, which helps the gipfeli puff up.
Uneven Baking: Tips for Consistent Golden-Brown Color
- Rotate the Baking Sheets: Halfway through baking, rotate the baking sheets to ensure even browning.
- Check Oven Temperature: Use an oven thermometer to make sure your oven is at the correct temperature.
- Lower the temperature and bake for a longer time.
Gipfeli Recipe Variations: Sweet and Savory Twists
Once you’ve mastered the basic gipfeli recipe, you can get creative with variations!
Classic Almond Gipfeli (Mandelgipfel): A Traditional Variation
Mandelgipfel are a beloved Swiss treat. They’re often filled with a sweet almond paste and topped with sliced almonds. You can easily adapt the basic gipfeli recipe to create this variation.
Chocolate-Filled Gipfeli: A Decadent Treat
Who doesn’t love chocolate? Add a few squares of dark chocolate or a spoonful of Nutella to the center of each triangle before rolling it up.
Savory Gipfeli: Ham and Cheese, or Herb and Garlic
For a savory option, try adding ham and cheese, or a mixture of herbs and garlic butter.
Creating Your Own Unique Gipfeli Filling
The possibilities are endless! Experiment with different fruits, nuts, spices, and cheeses to create your own signature gipfeli.
Essential Equipment for Baking Gipfeli Like a Pro
Having the right tools can make the baking process much easier.
Must-Have Baking Tools: Measuring Cups, Spoons, Mixing Bowls
These are the basics for any baking project. Make sure you have accurate measuring tools for the best results.
Rolling Pin and Pastry Mat: Achieving Uniform Dough Thickness
A good rolling pin is essential for rolling out the dough evenly. A pastry mat with measurements can also be helpful.
Baking Sheets and Parchment Paper: Preventing Sticking
Line your baking sheets with parchment paper to prevent the gipfeli from sticking and to make cleanup easier.
Optional Tools: Pastry Brush, Dough Scraper, Bench Knife
- Pastry Brush: For applying egg wash.
- Dough Scraper/Bench Knife: For dividing and handling the dough.
Storing and Enjoying Your Freshly Baked Gipfeli
How to Store Gipfeli to Maintain Freshness
Gipfeli are best enjoyed fresh, but you can store them in an airtight container at room temperature for up to 2 days.
Reheating Gipfeli: Restoring that Fresh-Baked Texture
To reheat gipfeli, warm them in a 350°F (175°C) oven for a few minutes, or until they are heated through and crispy again.
Freezing Gipfeli Dough and Baked Gipfeli: Long-Term Storage
You can freeze both unbaked and baked gipfeli. For unbaked gipfeli, freeze them after shaping, then thaw and proof before baking. For baked gipfeli, freeze them individually wrapped, then thaw and reheat.
Frequently Asked Questions
Can I Make Gipfeli Dough Ahead of Time?
Yes! You can make the dough the day before and let it rise slowly in the refrigerator overnight. You can also complete the lamination process and chill the dough for up to 24 hours before shaping and baking.
What’s the Best Type of Butter for Gipfeli?
As mentioned earlier, a high-quality, European-style butter with a high fat content (at least 82%) is best.
Can I Use All-Purpose Flour Instead of Bread Flour?
You can, but you might need to adjust the hydration (liquid content) slightly. Bread flour will give you a chewier, more structured gipfeli.
How to pronounce Gipfeli?
It is pronounced, “Gip-fuh-lee”.
What does Gipfeli means?
“Gipfeli” is a Swiss German word, and it essentially translates to “little summit” or “little peak,” referring to the crescent shape of the pastry.
Serving Suggestions and Pairings for Your Gipfeli
Classic Swiss Breakfast Pairings: Coffee, Jam, and More
A freshly baked gipfeli with a cup of coffee and some jam is a classic Swiss breakfast. You can also enjoy them with butter, honey, or other spreads.
Using gipfeli in sandwiches.
The sturdy and savory flavor make it a perfect base for sandwiches.
Gipfeli as a Dessert: Sweet Sauces and Accompaniments
Gipfeli can also be enjoyed as a dessert. Try them with a drizzle of chocolate sauce, a scoop of ice cream, or a dollop of whipped cream.
So there you have it – your comprehensive guide to the gipfeli recipe! With a little practice and patience, you’ll be baking these delicious Swiss pastries like a pro in no time. Don’t be afraid to experiment and have fun with it. Now go and create the perfect gipfeli!